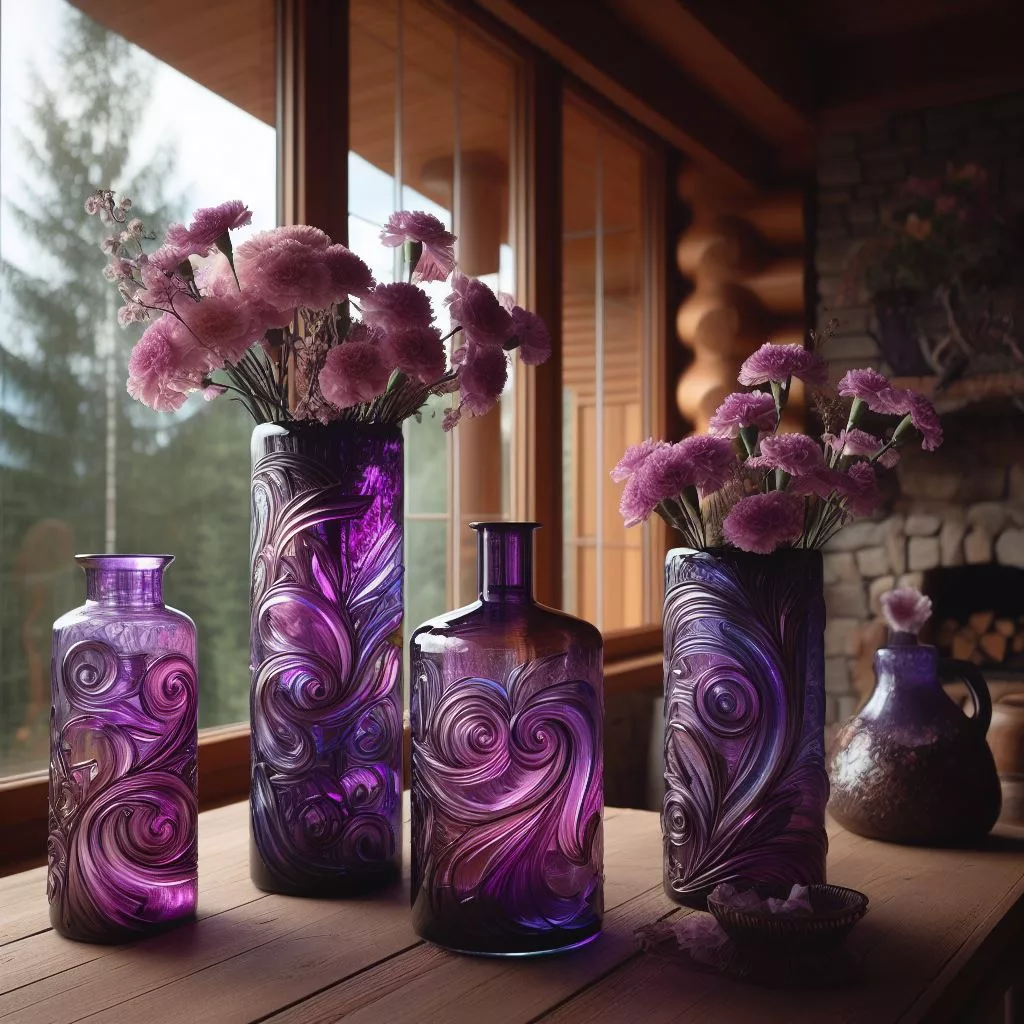
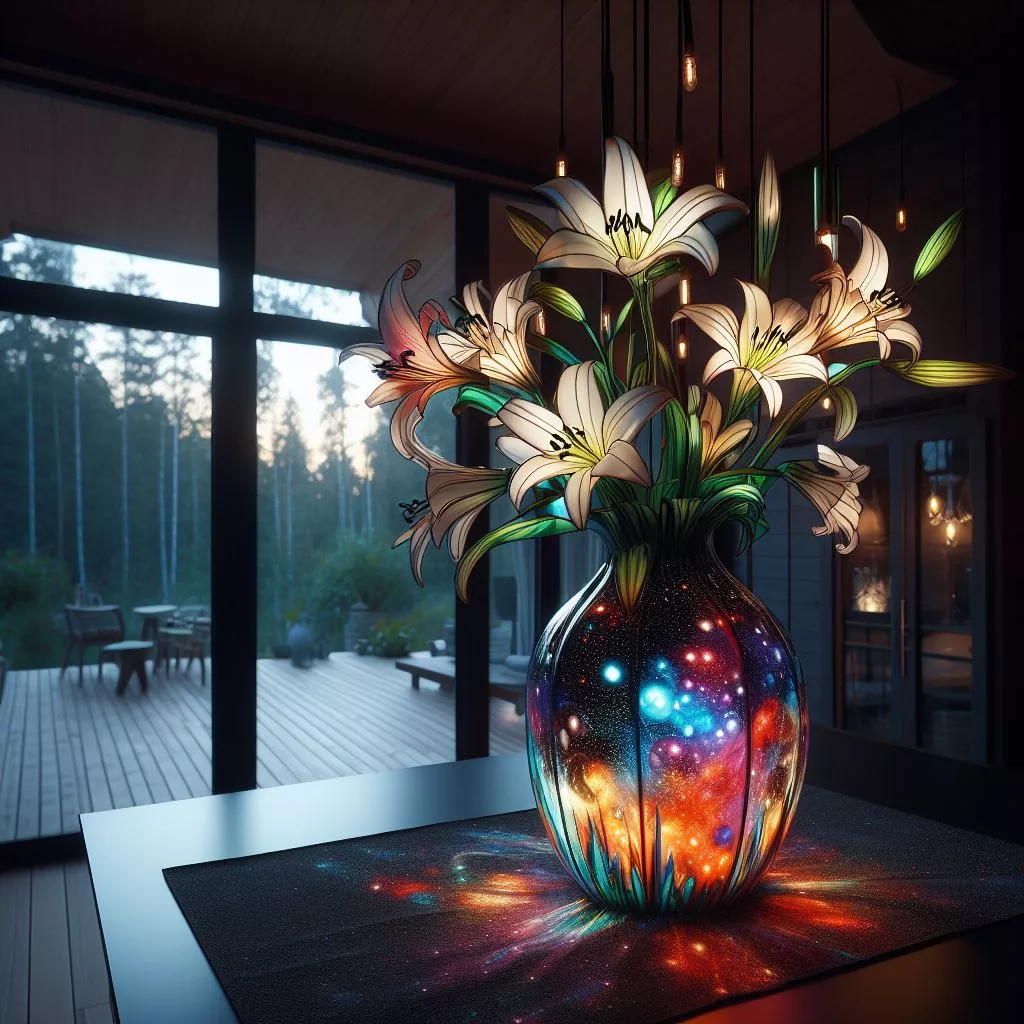
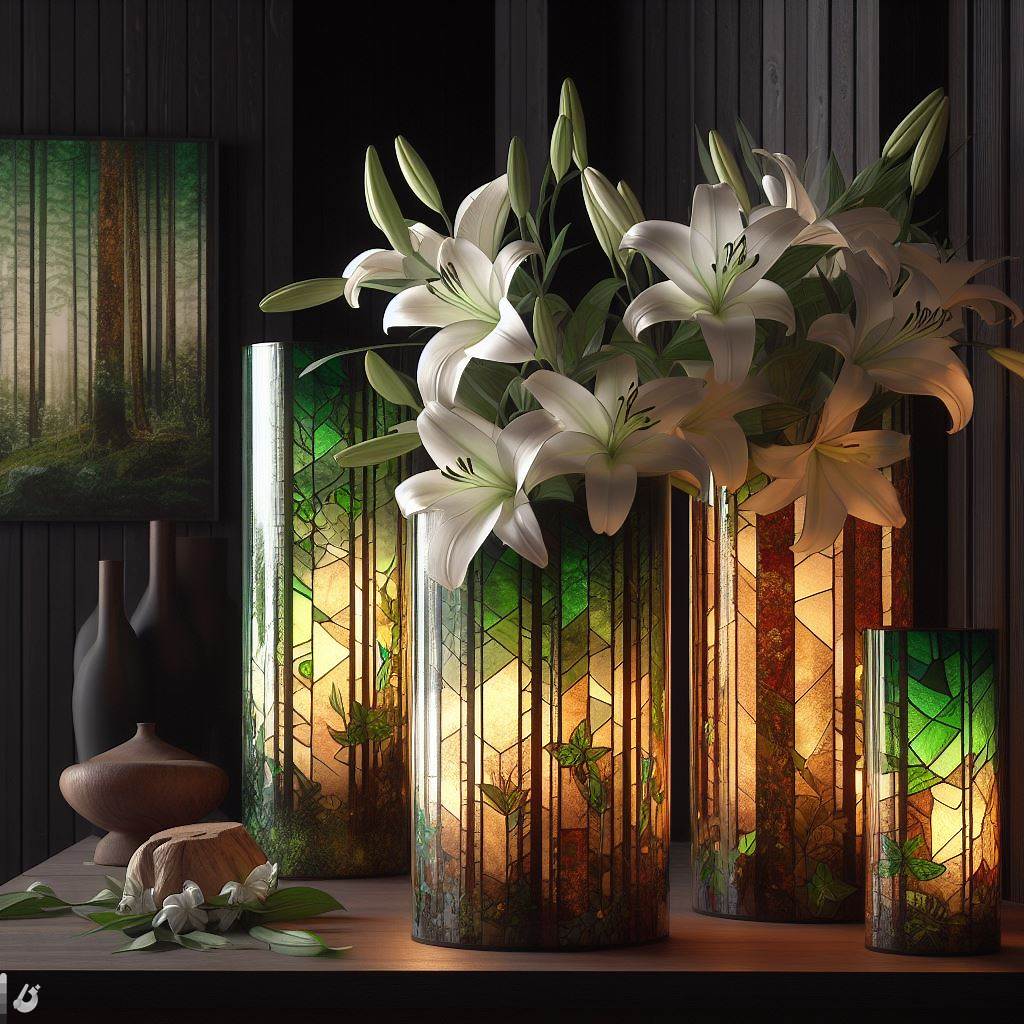
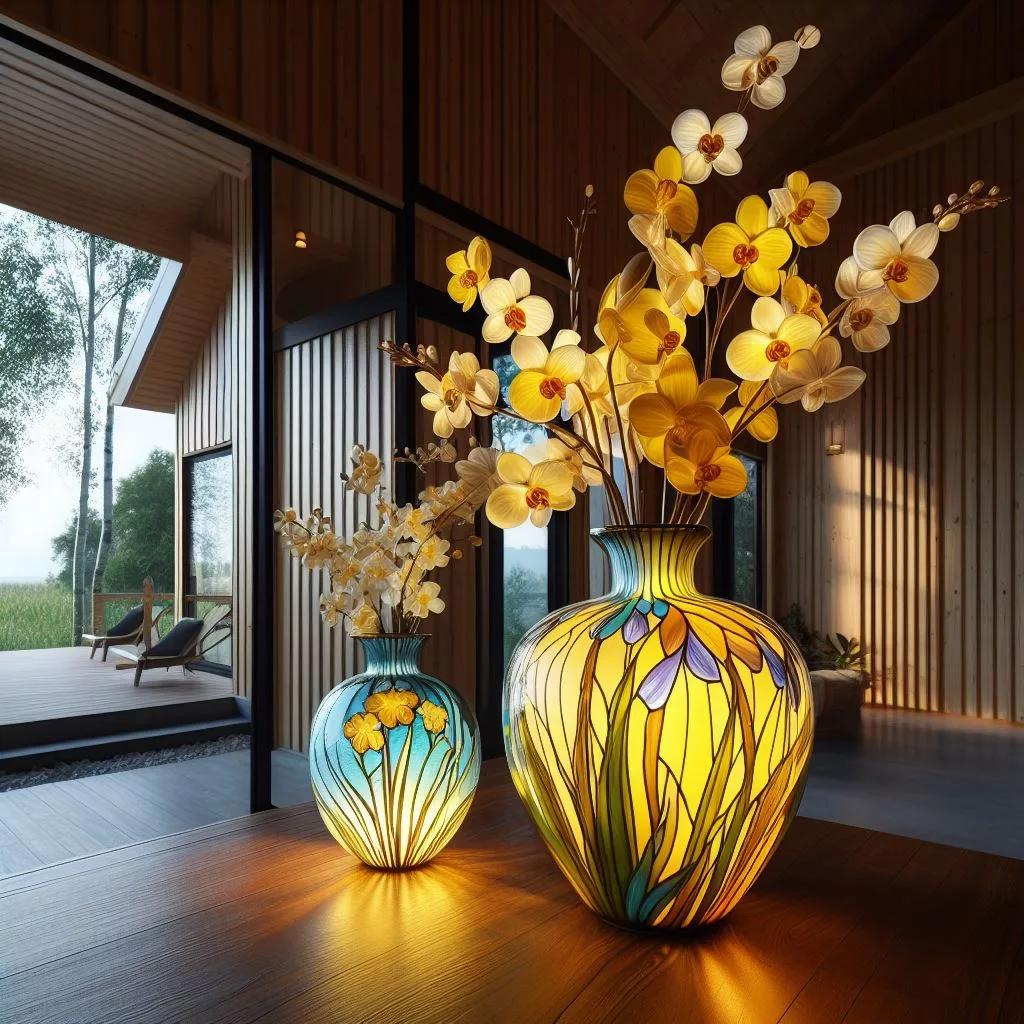
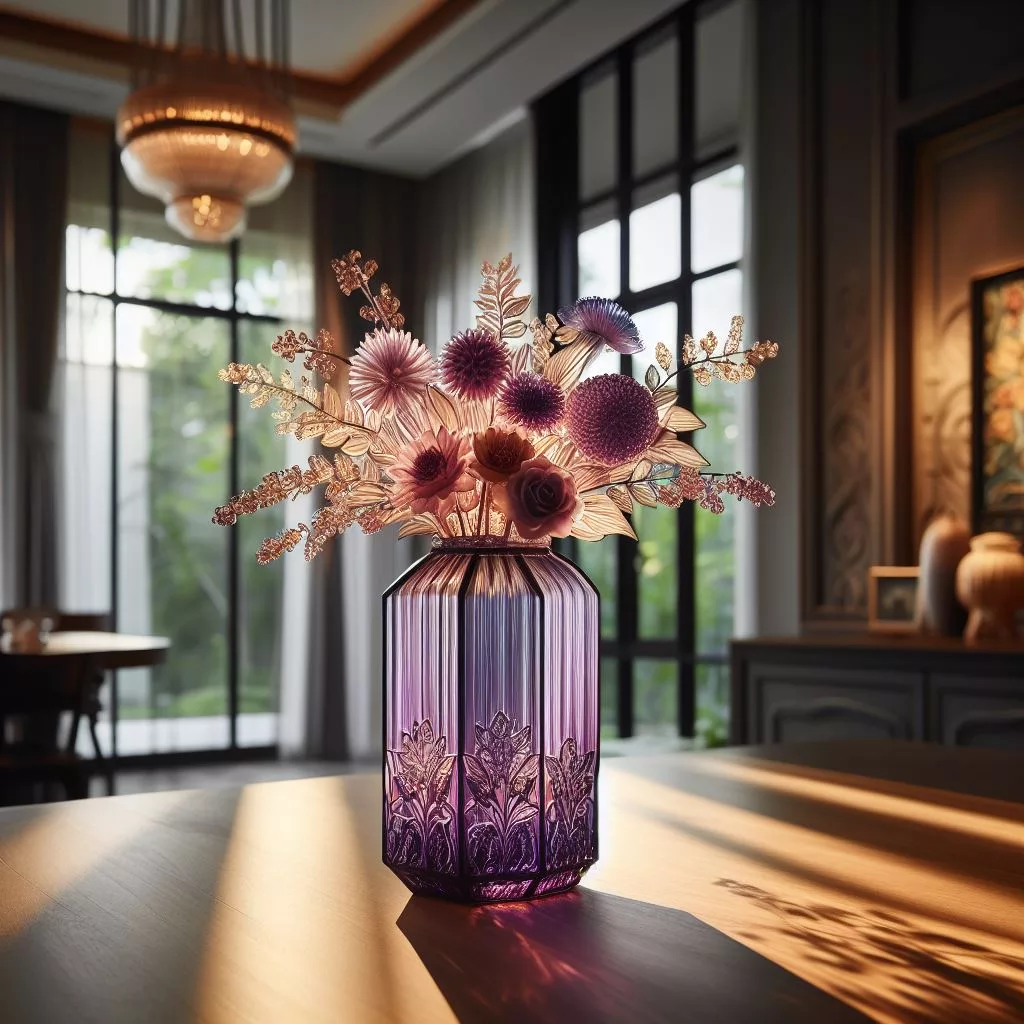
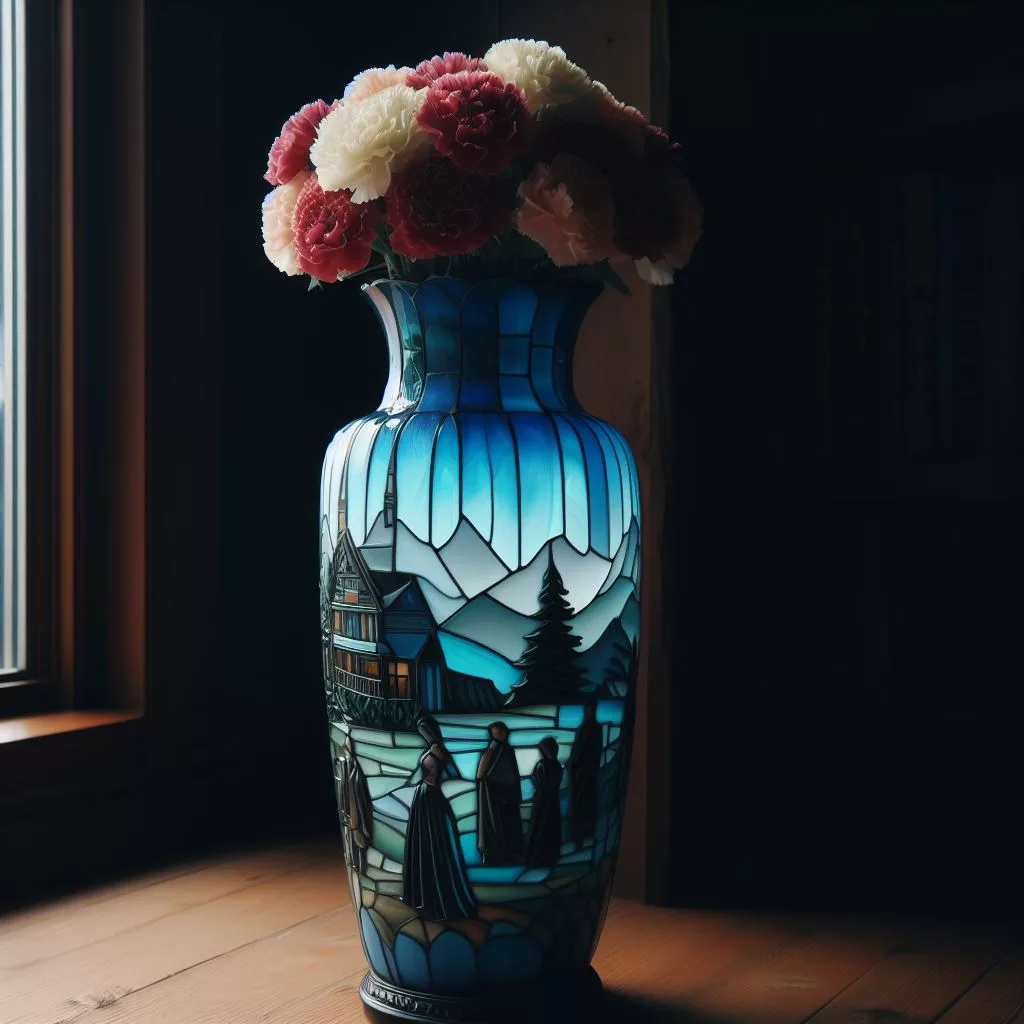
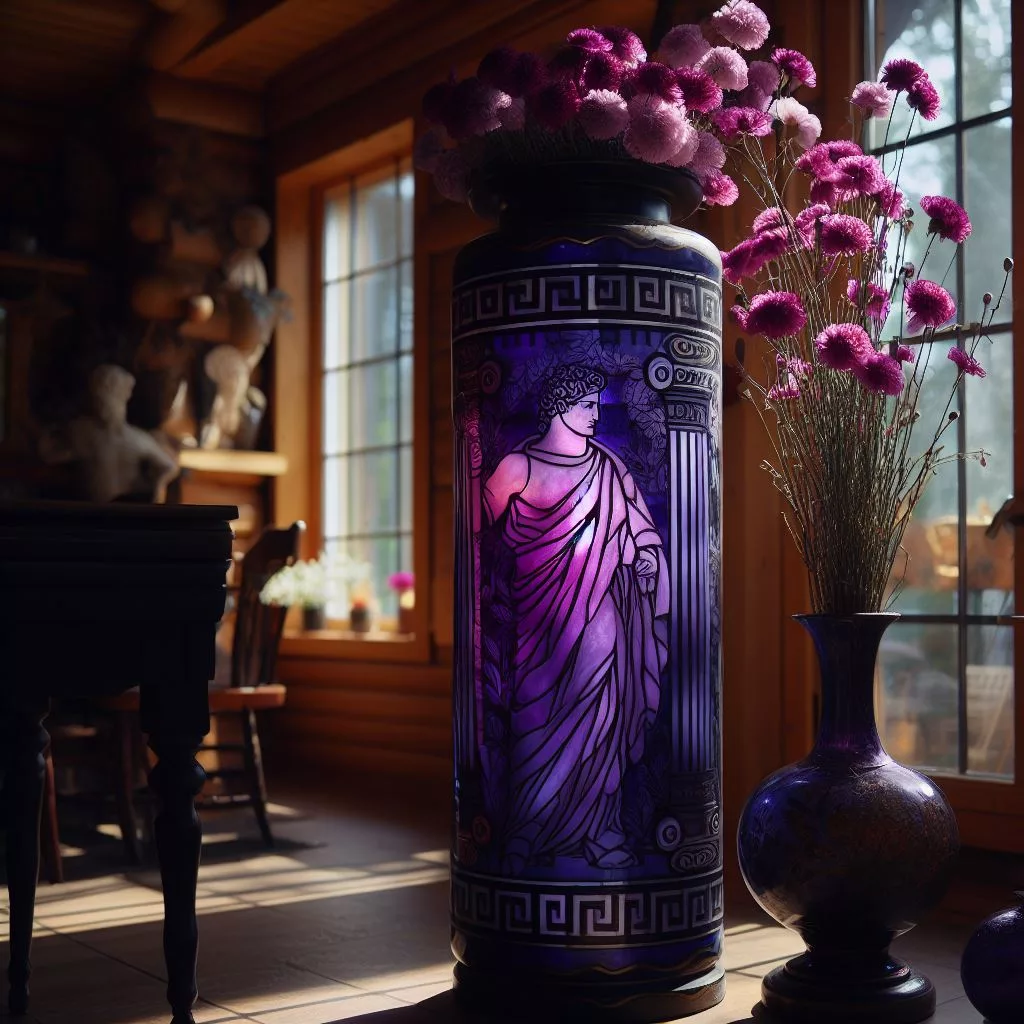
Discover the joy of crafting and learn how to create a beautiful stained glass flower vase that will add a touch of elegance to your home decor. With this step-by-step guide, you can express yourself through the art of stained glass and impress your friends and family with a unique handmade present.
Unlike store-bought vases, a homemade stained glass flower vase allows you to personalize every detail, making it truly one-of-a-kind. Dive into the world of glass crafting as you choose vibrant colors, design intricate patterns, and bring your vision to life. Whether you’re an experienced artist or new to the craft, this project is perfect for unleashing your creativity.
Get ready to embark on an exciting journey where you’ll learn the process of creating stunning stained glass flower vases.
Contents
Design
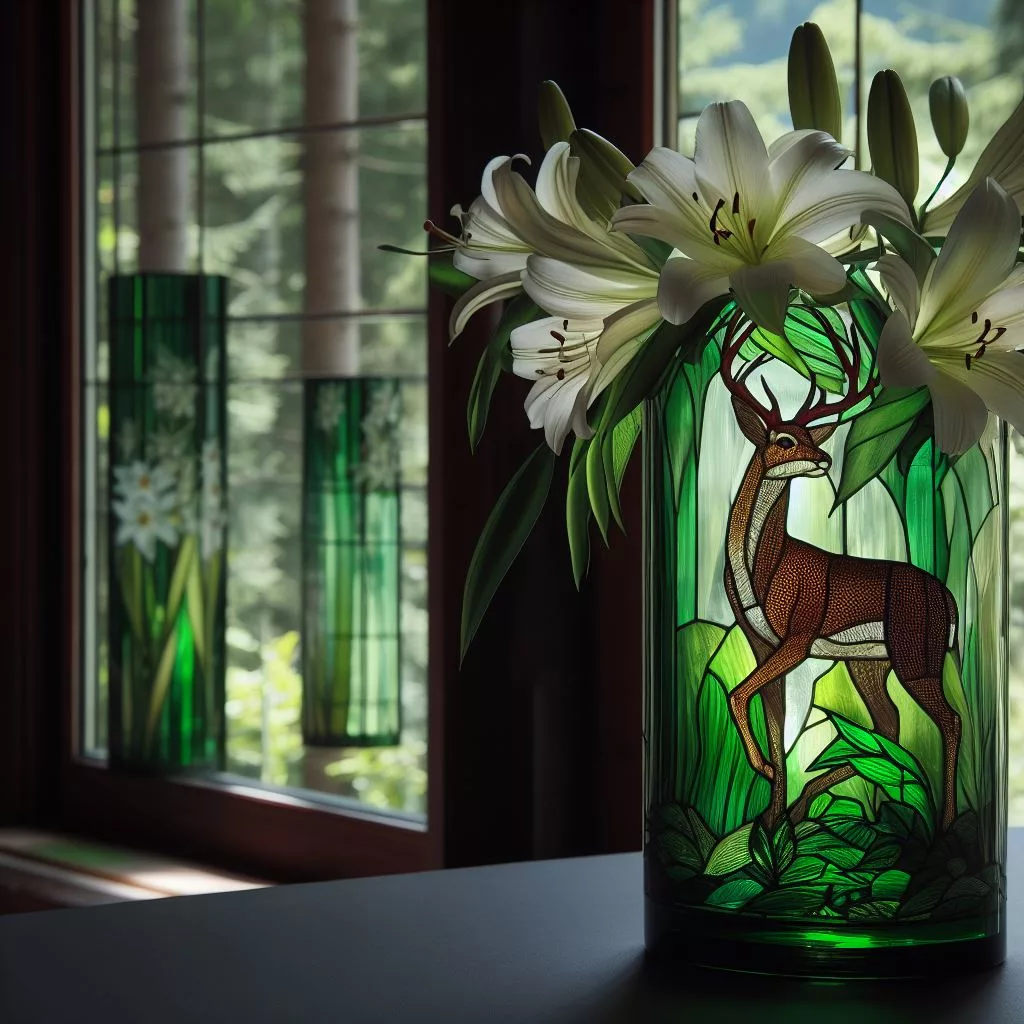
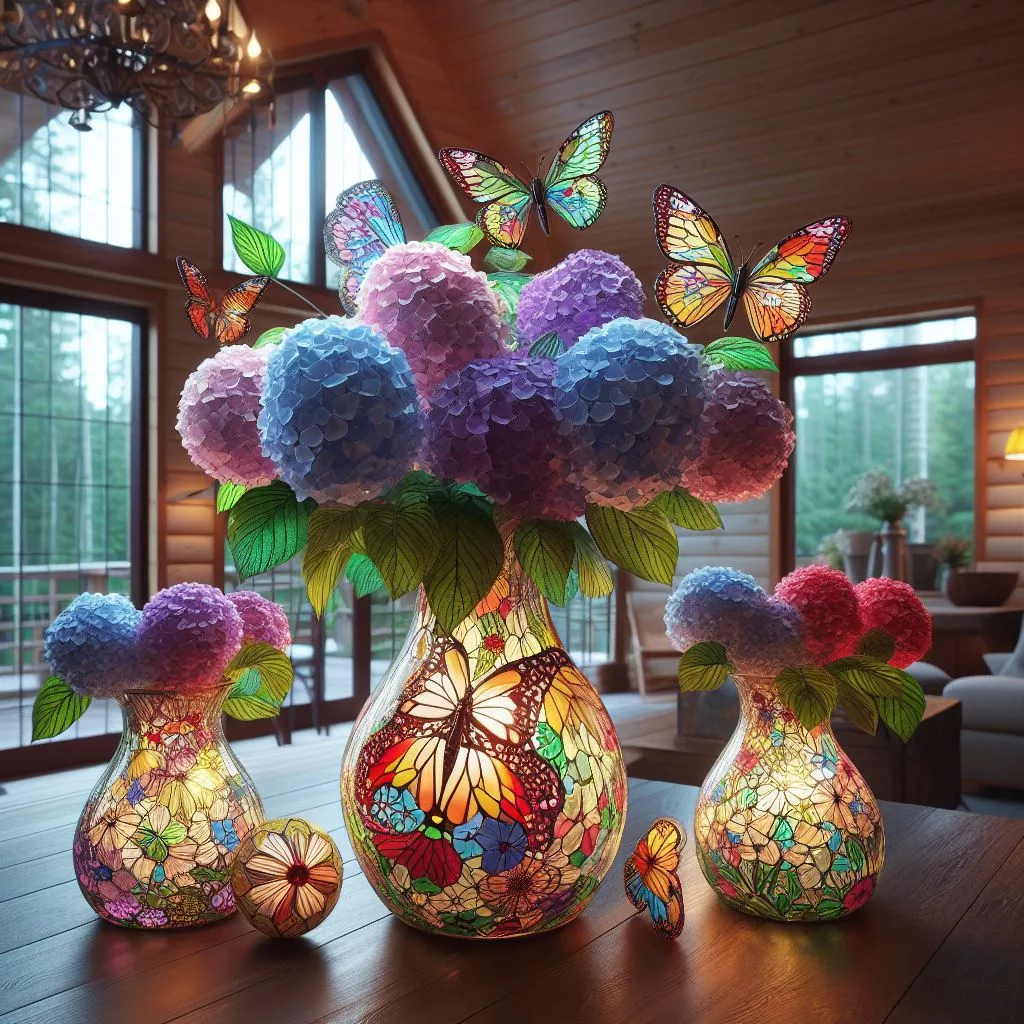
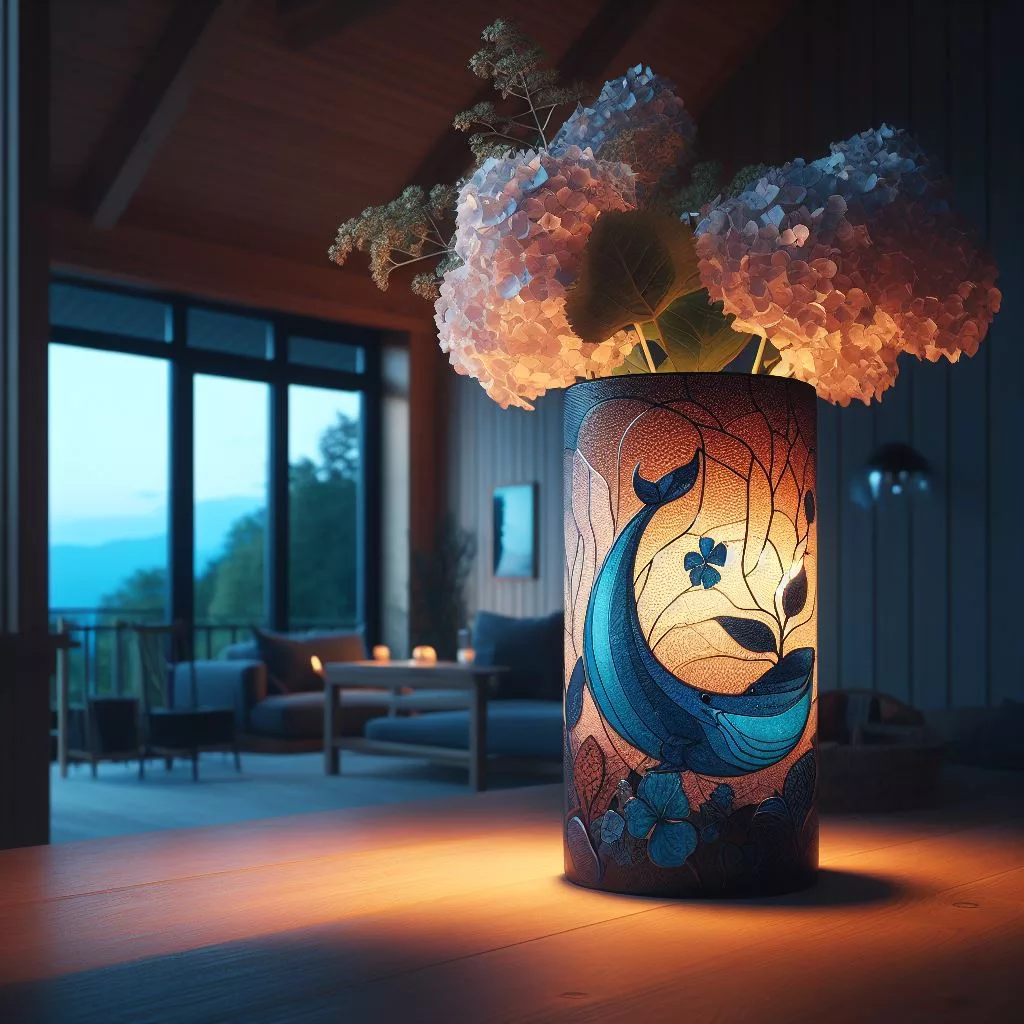
The design is one of the most captivating aspects. The intricate and beautiful design details that can be achieved with stained glass are truly remarkable. By using different colored glass pieces, you can create stunning visual effects that catch the eye and add a unique touch to any space.
Using a template is a great way for beginners or those lacking artistic confidence to create their own unique designs for a stained glass flower vase. Templates provide a starting point and guidance, making it easier to bring your creative ideas to life. Whether you prefer geometric patterns or nature-inspired motifs, templates offer endless possibilities for customization.
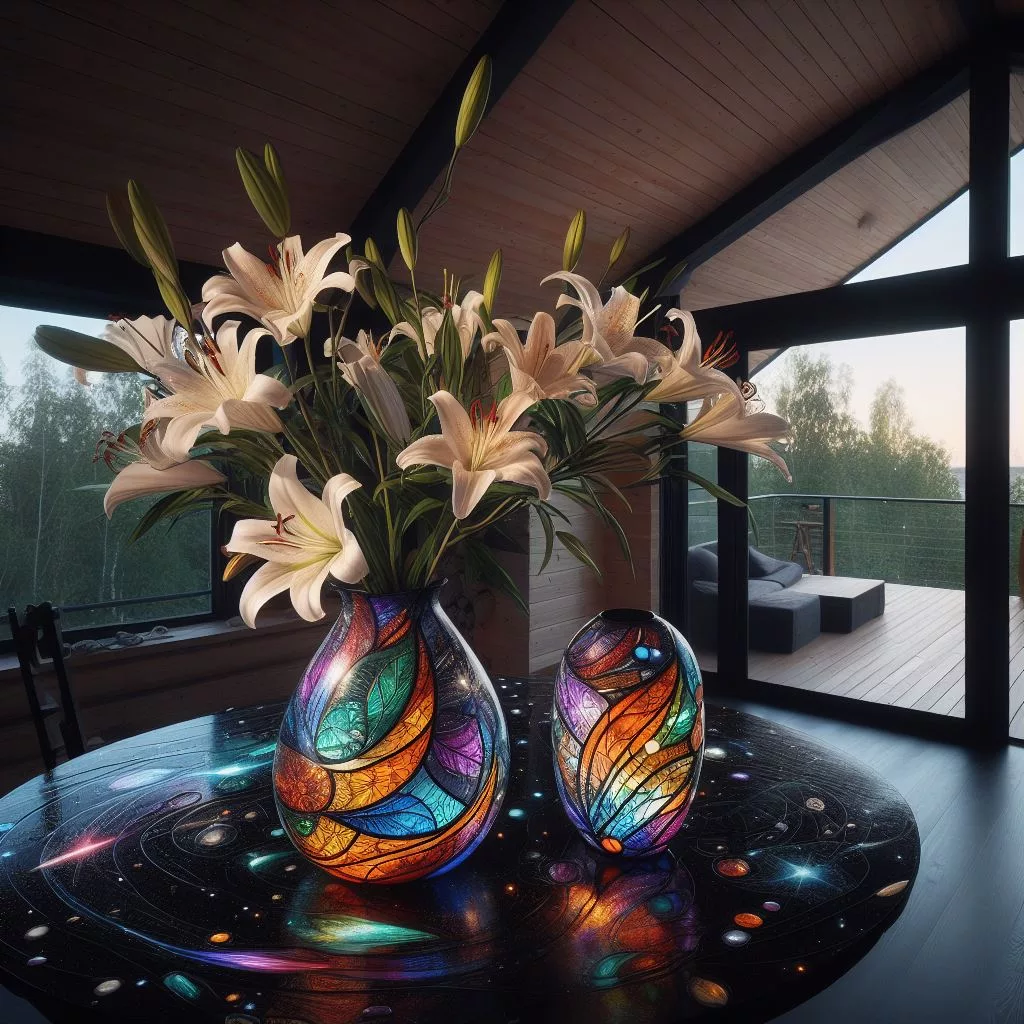
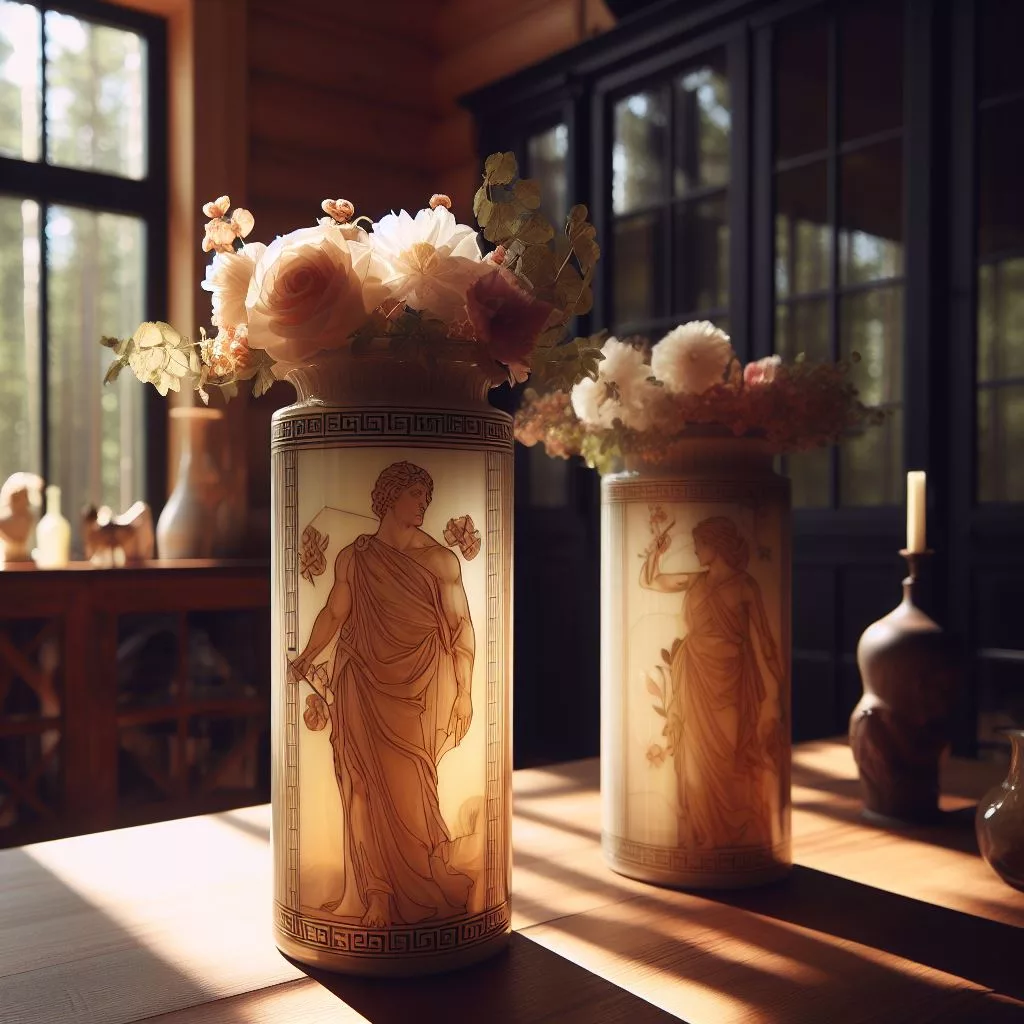
Stained Glass Flower Vases 🌸🏡 also make thoughtful gift options. Their timeless beauty and versatility as decorative pieces make them perfect for brightening up any home or office space. Whether it’s for a birthday, anniversary, or simply to show someone you care, a stained glass flower vase is sure to leave a lasting impression.
Before diving into your stained glass project, it’s essential to gather all the necessary materials. Ensuring you have everything you need will help prevent interruptions during the crafting process and ensure a smooth experience from start to finish.
Here are some key points about gathering materials for your stained glass flower vase:
- Explore the list of essential materials required for creating a beautiful piece of stained glass art.
- Stock up on supplies such as different colors of glass, copper foil tape, soldering iron, flux, and safety equipment.
- Make sure you have easy access to all the required materials before beginning.
- Prepare yourself with all the tools needed for this exciting DIY project.


Having all the necessary materials at hand will allow you to fully immerse yourself in the creative process without any unnecessary delays.
Copper foil tape plays an integral role in creating stunning stained glass pieces. This versatile material offers both aesthetic appeal and structural integrity when working with stained glass.
Here are some key points about copper foil tape:
- Understand why copper foil tape is an essential component in creating stained glass pieces.
- Learn about the benefits and uses of copper foil tape in stained glass projects.
- Discover how copper foil tape enhances both aesthetics and structural integrity in stained glass artwork.
- Familiarize yourself with different types and sizes of copper foil tape available in the market today.
- Gain insights into why professional artists prefer using copper foil tape over other alternatives when working with stained glass material.
Copper foil tape not only provides a clean and precise edge for each piece of glass but also helps to hold them securely together during the soldering process. Its flexibility allows for intricate designs, making it a popular choice among stained glass enthusiasts.
Glass cutters are essential tools for achieving clean and accurate cuts when working with stained glass. Choosing the right type of cutter and mastering its use is crucial for creating professional-quality pieces.
Here are some key points about glass cutters:
- Choose the right type of glass cutter for precise cutting during your project.
- Explore different types of glass cutters used by professionals in their craftwork.
- Understand how to effectively use a glass cutter for clean and accurate cuts on various types of glasses used in creating vases or other objects made from stained glasses, such as windows or lampshades, etc.
- Learn about the importance of maintaining sharp blades in glass cutters for optimal results.
- Discover tips and techniques for using a glass cutter to achieve professional-quality cuts.
By selecting the appropriate type of cutter and practicing proper technique, you can ensure that each piece of your stained glass flower vase fits seamlessly together, resulting in a polished final product.
Safety should always be a top priority when working with any materials, including stained glass. Wearing appropriate protective gear will help minimize accidents or injuries during your project.
Consider these points about safety equipment for your stained glass flower vase project:
- Prioritize safety by wearing safety goggles, gloves, and other protective gear.
Glass Preparation Process
Before you can create a stunning stained glass flower vase, it’s essential to prepare the glass properly. This involves several crucial steps that will ensure your final product is both visually appealing and structurally sound.

Mark on the Glass
To begin, you need to master the art of marking precise measurements on your glass pieces before cutting. This step is crucial because accurate markings will determine the shape and size of your vase components. You can use various methods for marking patterns or designs on your chosen glass material, such as using markers, pencils, or templates. By exploring different techniques, you’ll find what works best for you.

One important aspect of marking on glass is ensuring the alignment of design elements on the surface. Pay close attention to this step to avoid any misalignment issues later in the process. Take your time and be meticulous when transferring your design onto the glass.
Remember that mistakes can happen during this stage, so it’s essential to learn from common errors and avoid them. Double-check your measurements and take extra care when marking intricate designs or patterns.
Cut Glass
Once you have marked out your design on the glass pieces, it’s time to cut them accurately. Cutting glass requires precision and careful execution to prevent breakage or damage while shaping your stained glass vase components.
Follow step-by-step instructions for cutting each piece according to your markings. Different types of glasses may require specific cutting approaches for optimal results, so make sure to understand these nuances beforehand.
Learning proper cutting techniques from experienced crafters will help you achieve clean and precise cuts every time. They can provide valuable tips and tricks that they’ve learned through their own experiences with stained glass crafting.
During the cutting process, challenges may arise, such as curved lines or intricate shapes. Don’t worry – expert guidance can help you overcome these obstacles with ease. With practice and patience, you’ll become more proficient at cutting complex designs flawlessly.
Grind Uneven Edges
After cutting your stained glass pieces, you may find that some edges are uneven or rough. This is where the grinding process comes in. Mastering the art of grinding will allow you to smooth out these imperfections and create a polished look for your vase.
Familiarize yourself with different grinding tools used to smooth rough edges effectively. Each tool has its own advantages and disadvantages, so choose one that suits your needs best. Learn proper grinding techniques to ensure smooth surfaces without compromising the structural integrity of the glass.
Grinding not only improves aesthetics but also enhances the functionality of your finished stained-glass flower vase. Smooth edges make it easier to assemble and handle the various components, ensuring a more enjoyable crafting experience.
While grinding, be mindful of common mistakes that can occur, such as applying too much pressure or grinding at incorrect angles. By following expert advice and taking precautions, you can avoid these pitfalls and achieve professional-looking results.
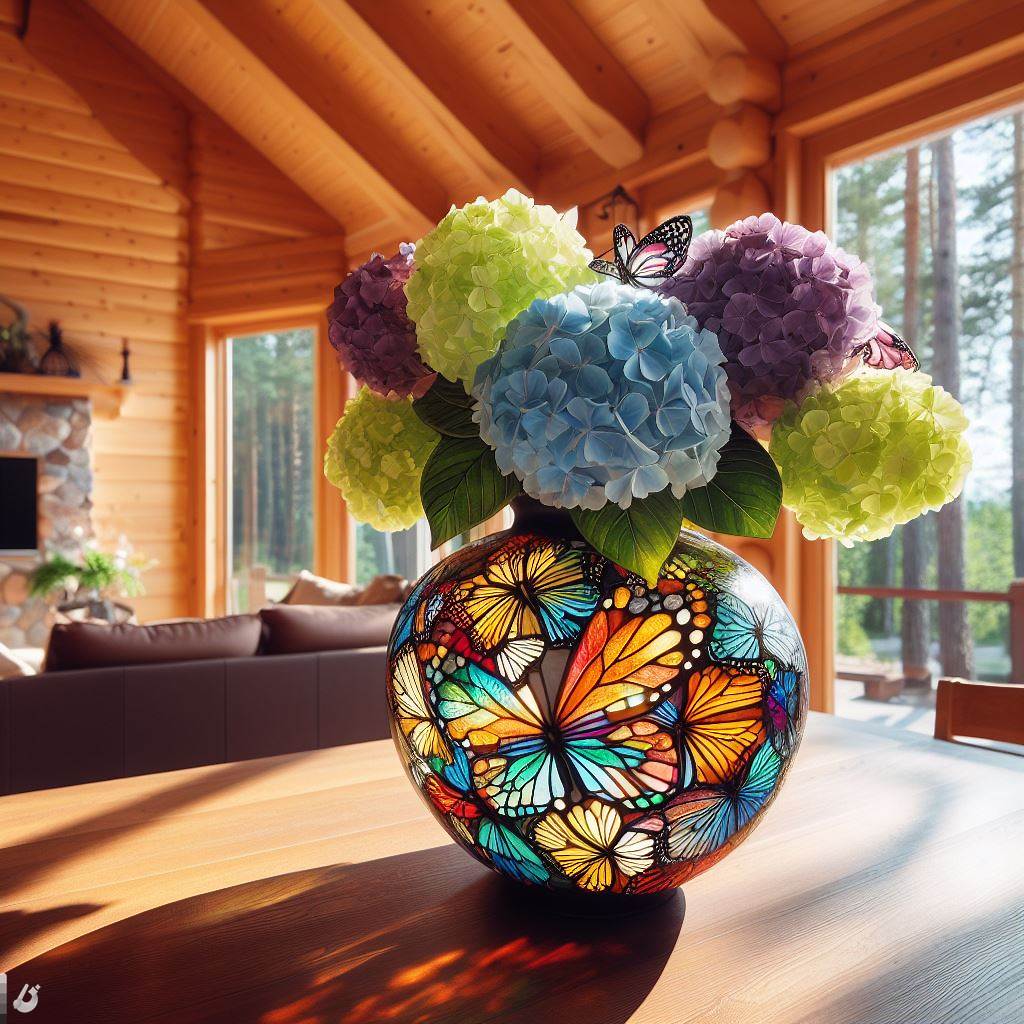
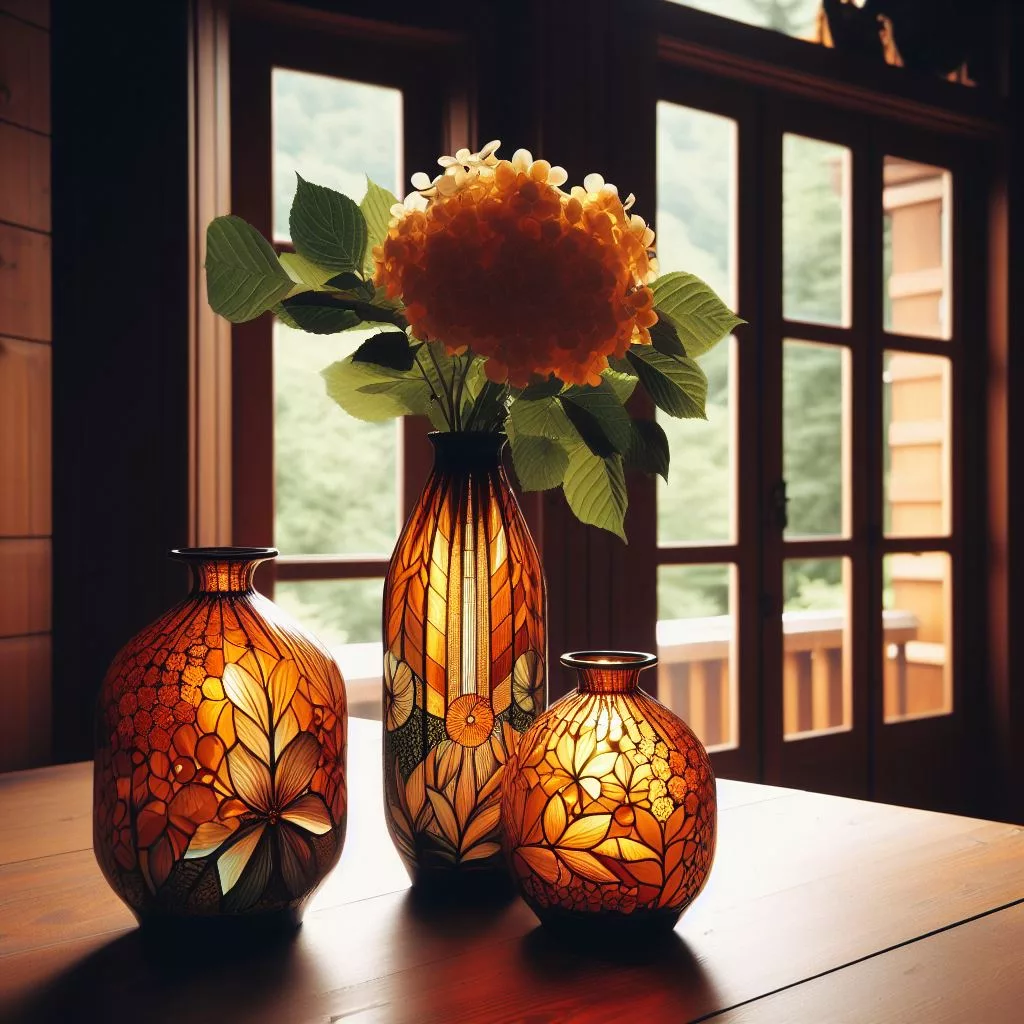
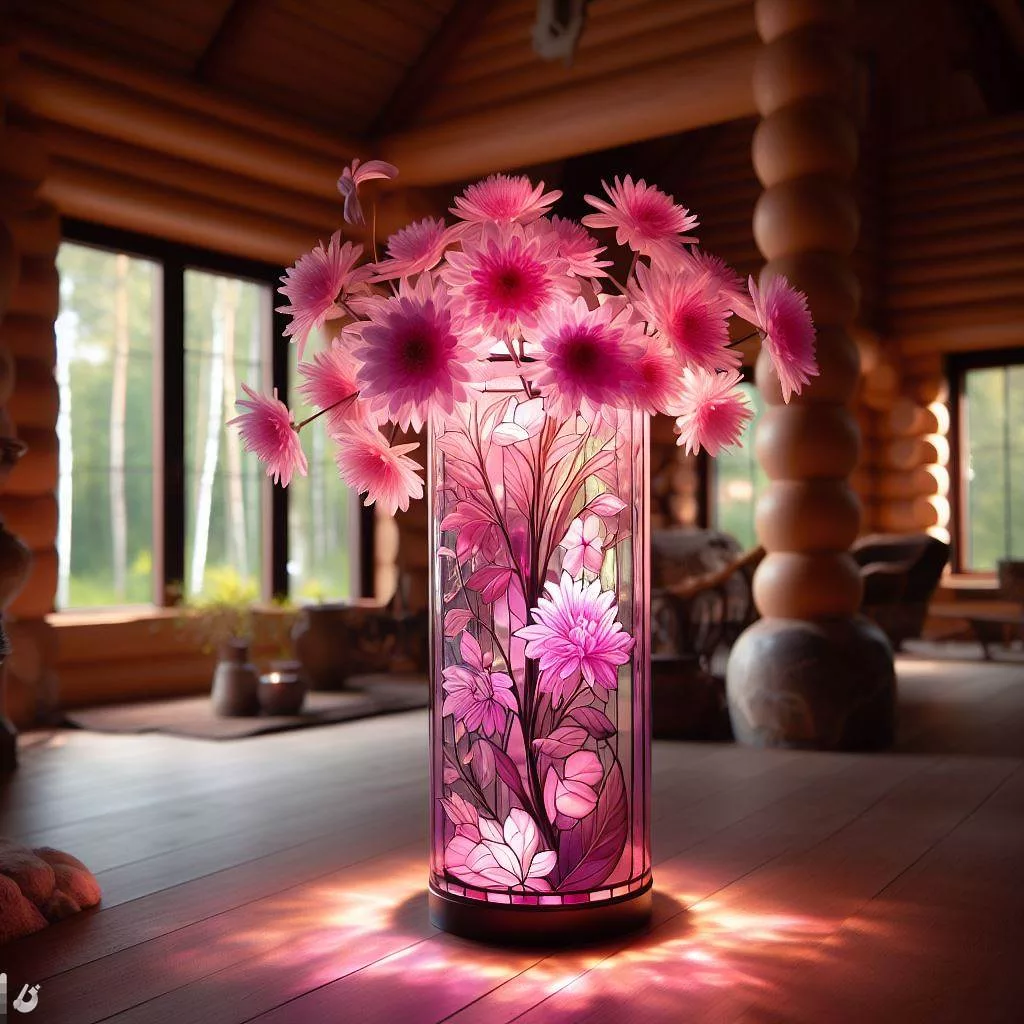
Add a touch of elegance to your space with the exquisite Stained Glass Flower Vase 🌸🏡 collection, available now on Amazon! Elevate your floral arrangements with these stunning vases that blend artistry and functionality. Transform any room into a blossoming paradise with the play of colors and light. Don’t miss out on the chance to bring beauty into your home – click the icon below and explore the enchanting range of Stained Glass Flower Vases to turn your space into a masterpiece!
Clean Glass Pieces
Before assembling your stained glass flower vase, it’s crucial to clean each piece thoroughly. Cleaning ensures that there are no dust particles, debris, or fingerprints on the glass surfaces, allowing for a pristine final product.
Discover effective methods for cleaning glass pieces based on their specific requirements. Different types of stained glass materials may necessitate different cleaning solutions and techniques. Research what works best for each type before proceeding.
Clean glass pieces contribute significantly to the overall appearance of your finished vase. They add clarity and shine to every angle, making it stand out as a beautiful work of art.
Take pride in this step by paying attention to detail when cleaning each piece individually. By doing so, you’ll achieve a professional look that will impress both yourself and others who admire your craftsmanship.
Read more: Oversized Stained Glass Tree Lamps: Impressive Home Decor!
Assembling the Stained Glass Flower Vase
Now that you have prepared your glass pieces for the stained glass flower vase, it’s time to move on to the next step: assembling them. This process involves wrapping copper foil around the glass pieces, burnishing them for a smooth finish, and finally, putting all the parts together.
Wrap Copper Foil Around Glass Pieces
To begin, carefully wrap copper foil around each of your cut glass pieces. This step is crucial as it not only enhances the aesthetics of your artwork but also provides structural integrity. Follow step-by-step instructions to ensure a secure adhesion between the foil and the glass surface.
Different wrapping techniques can be used depending on your preferences and design requirements. Experiment with different methods to find one that suits you best. Remember, practice makes perfect!
Applying copper foil neatly without wrinkles or gaps can be challenging at first. However, don’t worry! With expert guidance and some handy tips and tricks, you’ll be able to overcome these challenges in no time.
Burnishing
Once you have wrapped copper foil around all your glass pieces, it’s time to master the art of burnishing. Burnishing is an essential step in creating high-quality stained glass artwork as it ensures a smooth and polished finish on your foiled surfaces.
Using appropriate tools for burnishing is crucial for achieving desired results. Different tools serve specific purposes such as removing air bubbles, improving adhesion, and creating a seamless appearance on foiled surfaces. Learn about these tools and their functions to make informed choices during this process.
During burnishing, it’s important to avoid common mistakes that could compromise the quality of your finished piece. Take note of expert advice on what pitfalls to watch out for so that you can achieve professional-looking results.
Assemble All Parts
With your copper foiled glass pieces ready, it’s finally time to assemble all the components of your stained-glass flower vase together. Follow step-by-step instructions to ensure a smooth and successful assembly process.
Depending on your chosen design, there are various techniques you can employ for assembling the parts. Take the time to understand these techniques and select the one that best suits your vision for the final product.
Proper assembly is essential as it ensures stability and longevity of your finished piece. Pay attention to aligning, fitting, and securing various parts effectively to create a sturdy structure.
During the assembly process, you may encounter some challenges. However, don’t let them discourage you! Expert guidance will help you overcome these obstacles and achieve a satisfying end result.
“Soldering and Finishing Steps”
Congratulations! You’ve made it to the final steps of creating your beautiful stained glass flower vase. Now it’s time to add those finishing touches that will make your creation truly shine. With a steady hand and a touch of creativity, you’ll bring all the elements together into a stunning work of art.
As you embark on this last phase, take a moment to appreciate how far you’ve come. From the initial design to carefully preparing each piece of glass, you have poured your heart and soul into this project. Be proud of yourself for taking on this challenge and pushing through any obstacles that came your way. Your dedication and perseverance have paid off, and now it’s time to revel in the satisfaction of completing something truly remarkable.
But don’t stop here – let this be just the beginning of your stained glass journey. Keep exploring new designs, experimenting with different techniques, and honing your skills. The world of stained glass is vast and full of endless possibilities waiting for you to explore. So go ahead, unleash your creativity, and continue to create beautiful pieces that bring joy not only to yourself but also to others who get to admire your talent.
Now that you’ve reached the end of this blog post series, I encourage you to share your experience with others. Inspire them with your journey from a novice artist to a skilled creator by showcasing your finished masterpiece or sharing insights gained along the way. Spread the love for stained glass art by encouraging others to embark on their own creative adventures. Remember, every step countsEmbracing challenges, and nurturing your passion for art.
Read more: Funky Stained Glass Mushroom Lamp: Discover Unique Designs
FAQs
FAQ 1: How do I clean a stained glass flower vase?
To clean a stained glass flower vase, start by filling it with warm water and adding a few drops of mild dish soap. Gently swirl the solution around to loosen any dirt or debris. Use a soft cloth or sponge to wipe the interior and exterior of the vase, making sure to reach all the nooks and crannies. Rinse thoroughly with warm water and pat dry with a soft towel. Avoid using harsh chemicals or abrasive materials that could damage the delicate stained glass.
FAQ 2: Can I put water in a stained glass flower vase?
Yes, you can put water in a stained glass flower vase. Stained glass vases are designed to hold water for fresh flowers. However, it’s important to ensure that the vase is properly sealed and doesn’t leak before adding water. Avoid overfilling the vase as it may cause spills or damage to the surrounding area.

FAQ 3: How do I arrange flowers in a stained glass flower vase?
Arranging flowers in a stained glass flower vase is simple and fun! Start by selecting your desired flowers and trimming their stems at an angle for better absorption of water. Fill the vase with clean water mixed with floral preservative if available. Remove any leaves that will be below the water line to prevent bacterial growth. Arrange your flowers by placing taller ones in the center and shorter ones around them, creating a balanced look. Adjust as necessary until you’re satisfied with the arrangement.
FAQ 4: Can I use artificial flowers in a stained glass flower vase?
Absolutely! Stained glass flower vases can beautifully showcase artificial flowers too. Artificial flowers offer longevity without requiring regular maintenance like fresh flowers do. Simply choose artificial blooms that complement your decor or personal style, trim their stems if needed, and arrange them in your stained glass vase just like you would with real flowers.
FAQ 5: How do I display a stained glass flower vase?
Displaying a stained glass flower vase is a fantastic way to add color and elegance to any space. You can place it on a windowsill to allow sunlight to illuminate its vibrant colors, or use it as a centerpiece on a table or mantelpiece. Consider placing the vase in an area where it can be easily admired and appreciated by both residents and visitors.