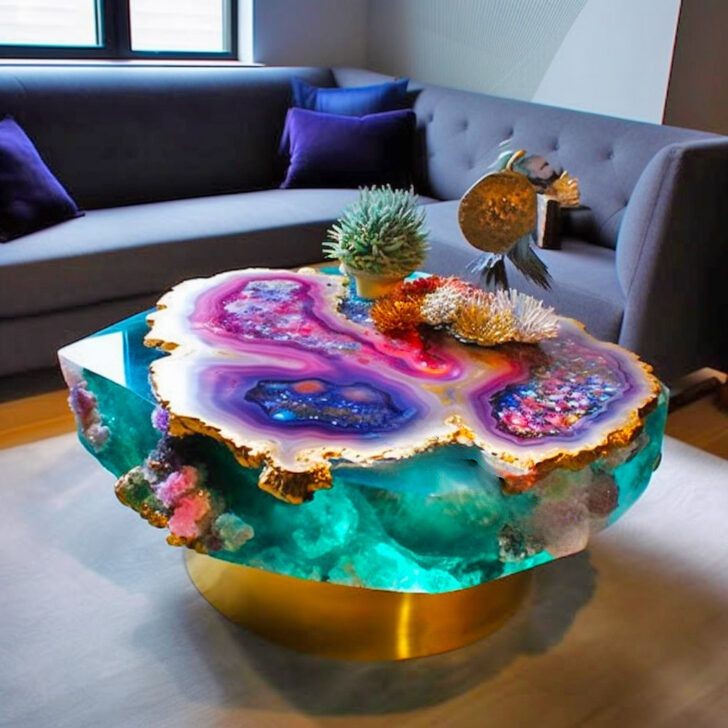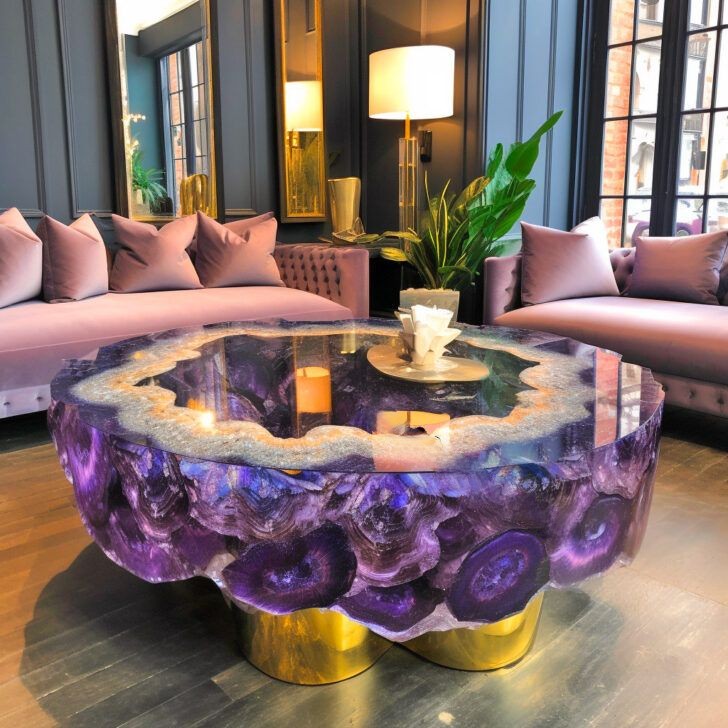
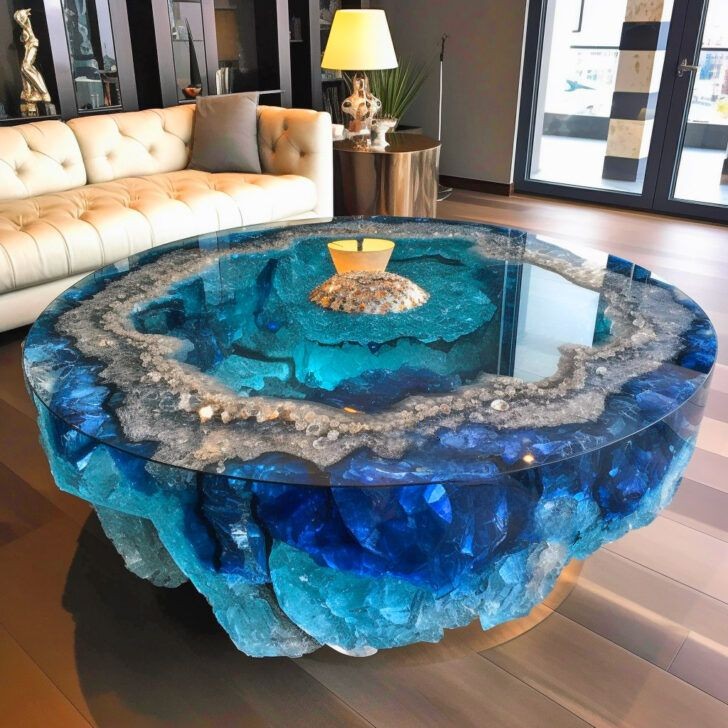
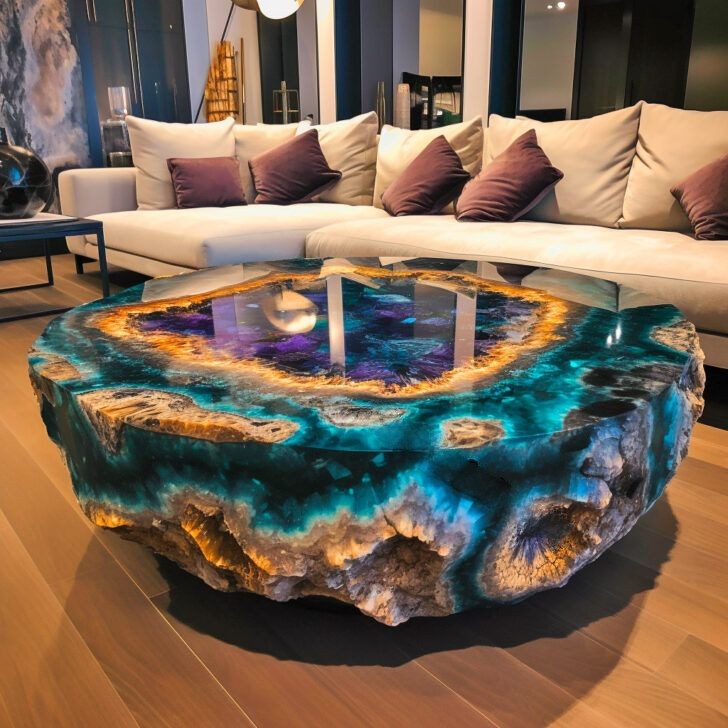
Geode coffee tables represent a fusion of nature’s grandeur and human craftsmanship, introducing a sense of distinctiveness and intrigue to any living space.
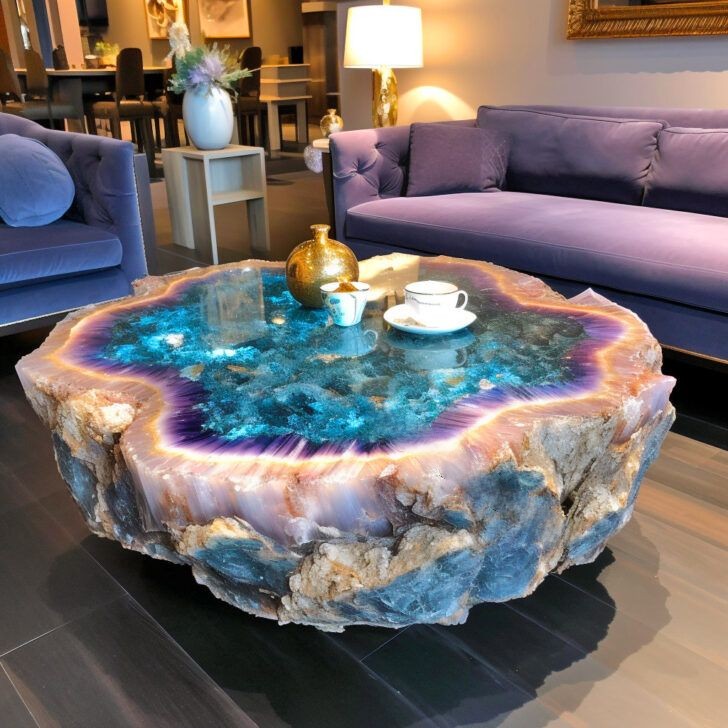
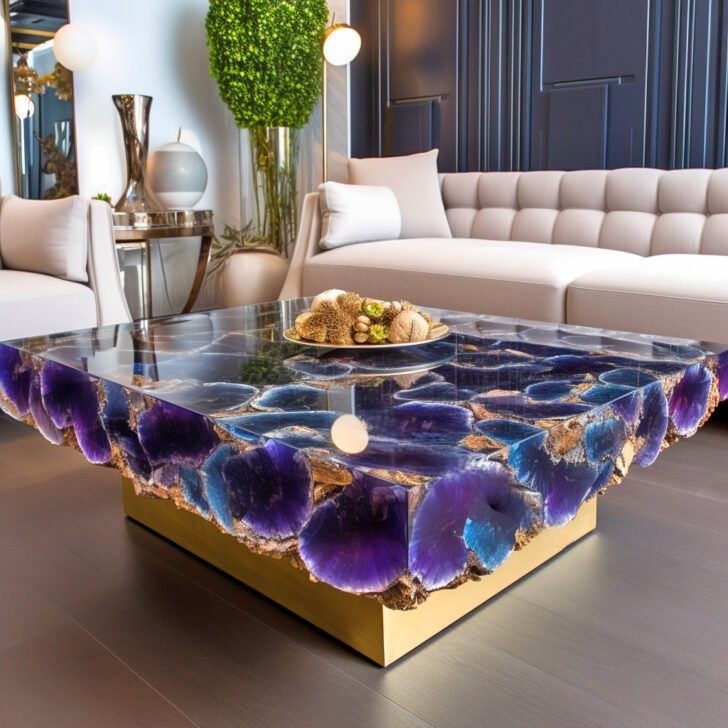
There are two primary categories of geode coffee tables: authentic geode tables and DIY versions constructed from epoxy resin. Genuine geode coffee tables are crafted from real geodes, hollow rocks adorned with exquisite crystal formations.
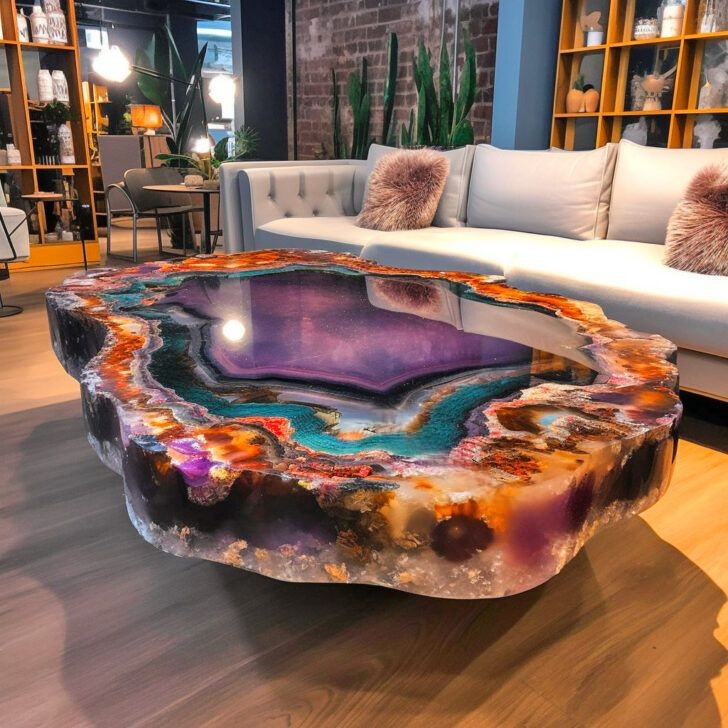
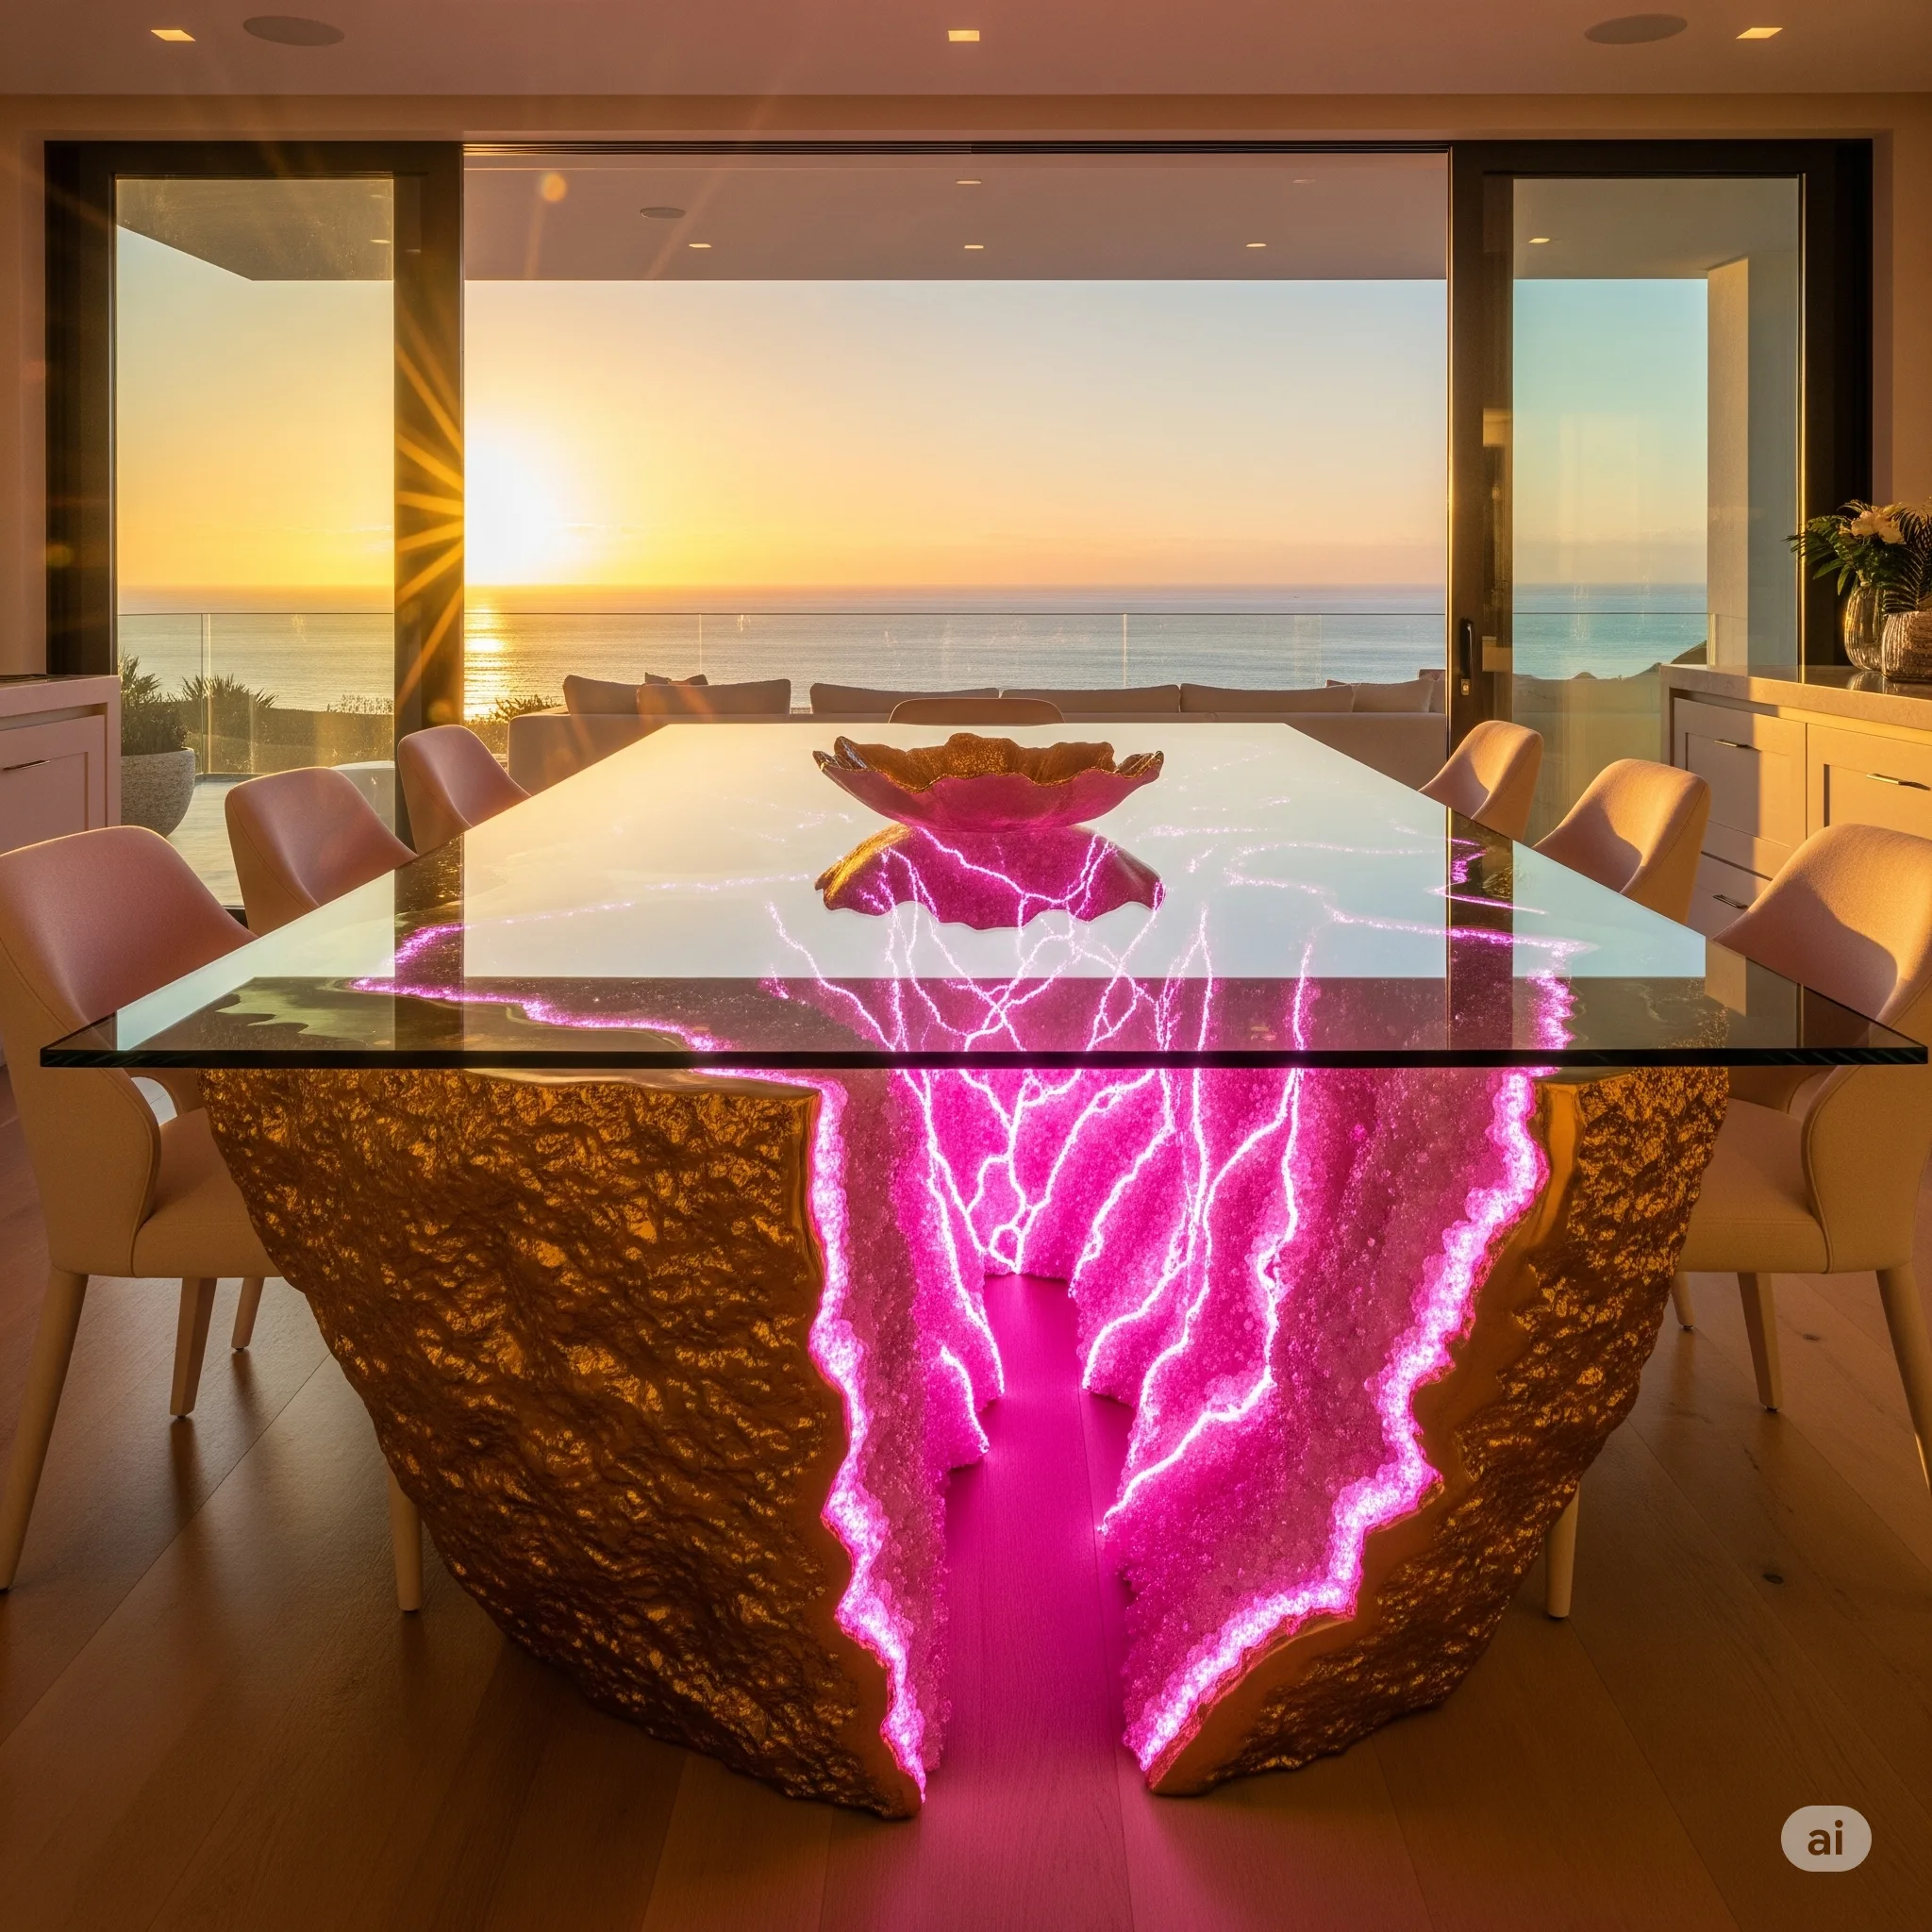
Conversely, DIY renditions replicate the aesthetic allure of geodes using epoxy resin, providing a more budget-friendly alternative while still delivering an awe-inspiring visual impact.
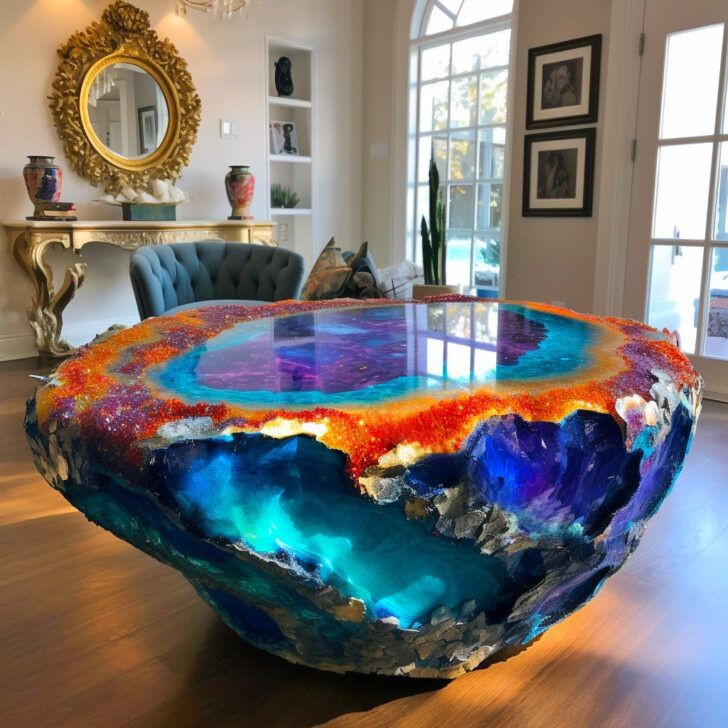
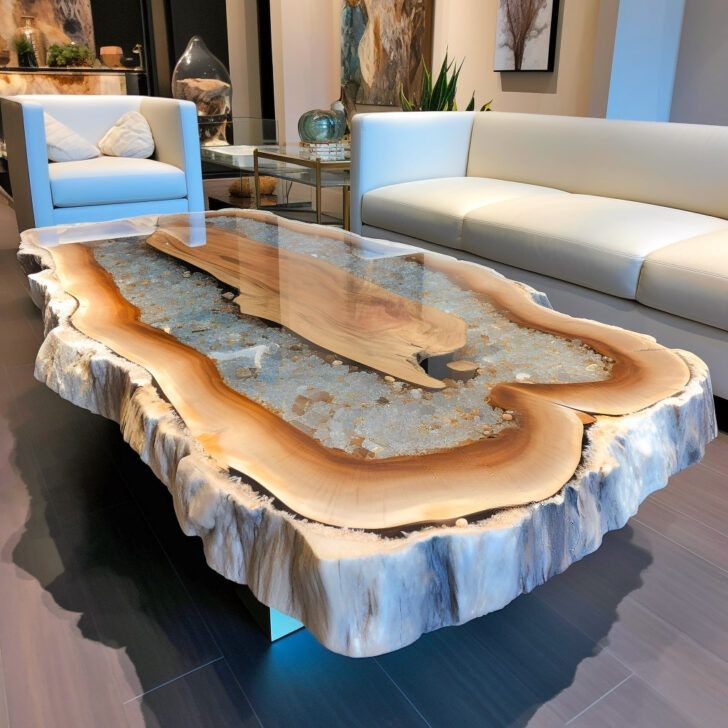
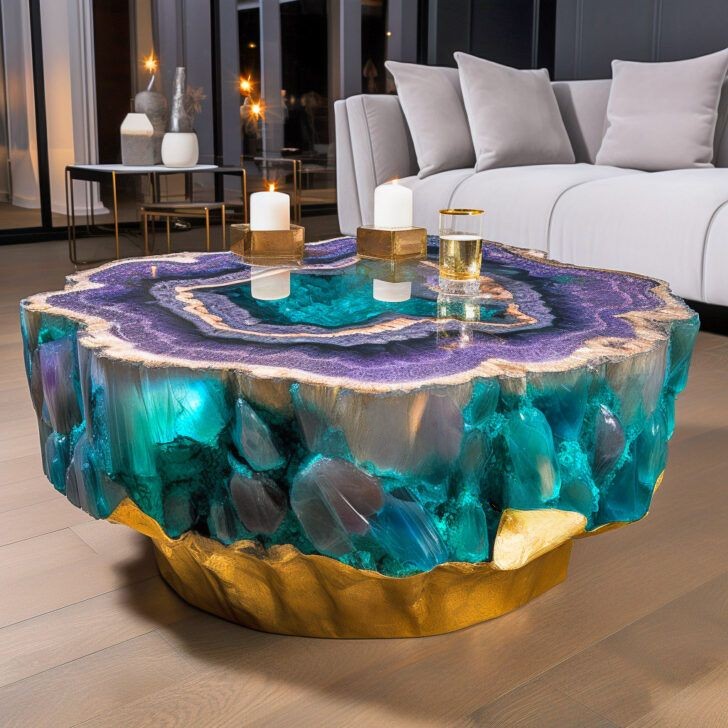
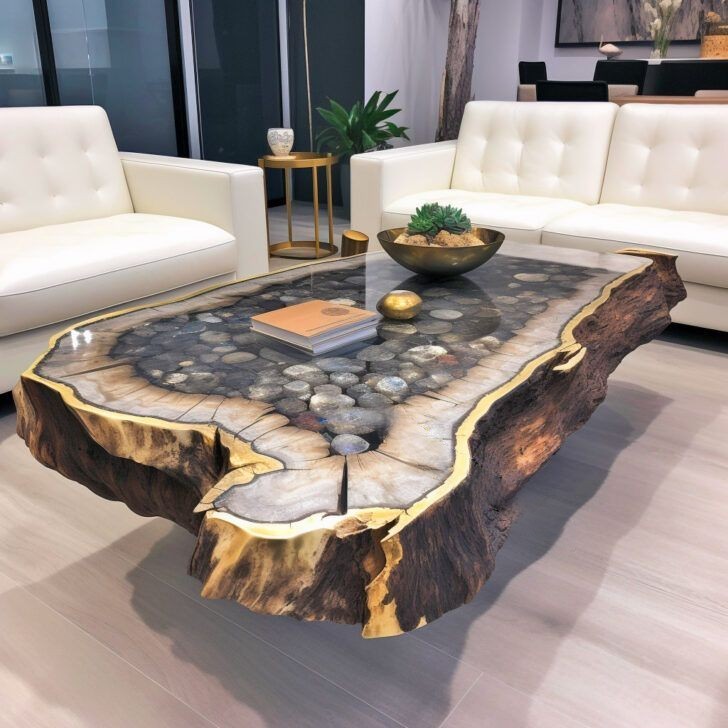
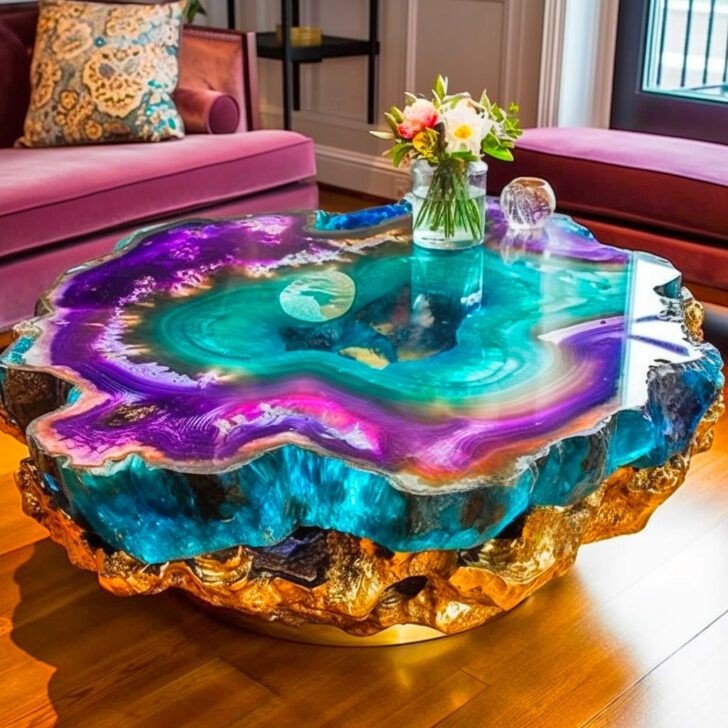
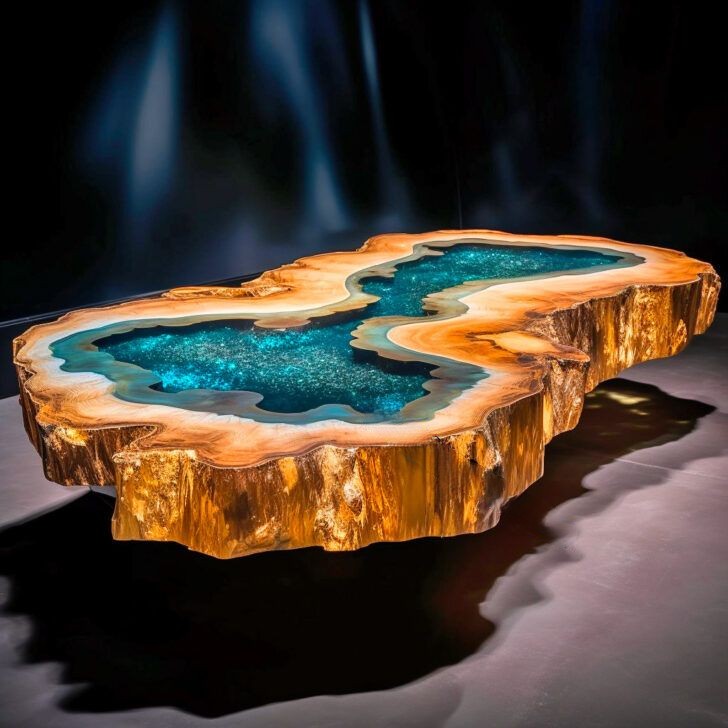
In terms of shape, geode coffee tables defy a singular standard. Some adopt a circular configuration, while others embrace longer, more rectangular forms. These shapes are dictated by the nature of the geode used or the artisan’s creative vision for DIY versions, allowing for personalization and artistic expression.
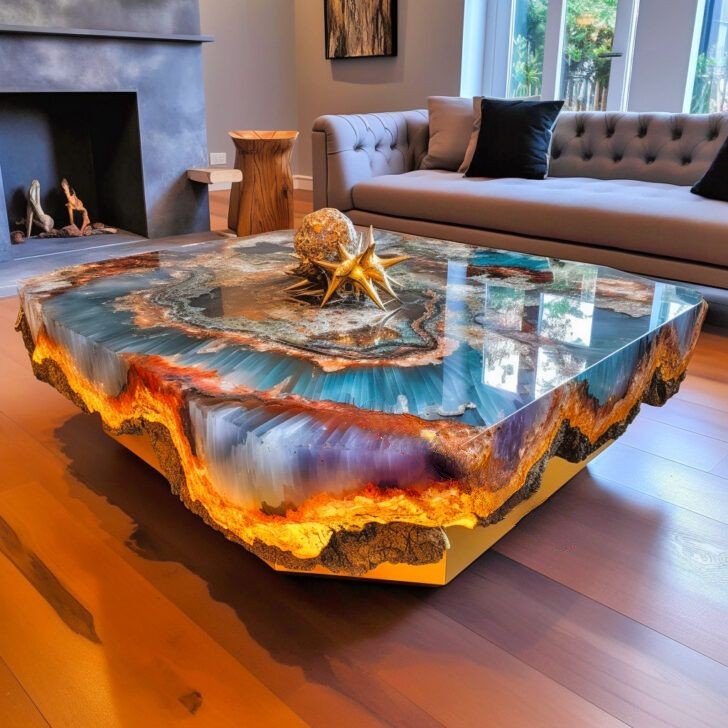
A distinguishing feature of these tables is the distinctive “live edge.” In genuine geode tables, this edge forms naturally, ensuring each piece is unique, bearing the inimitable imprint of geological processes. For DIY versions, the edge can be creatively designed, enabling customization to suit personal artistic preferences.
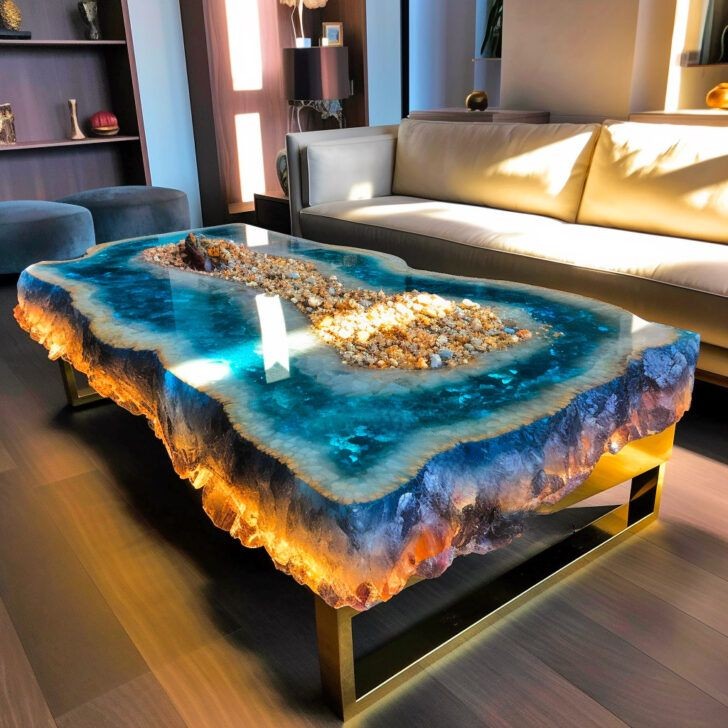
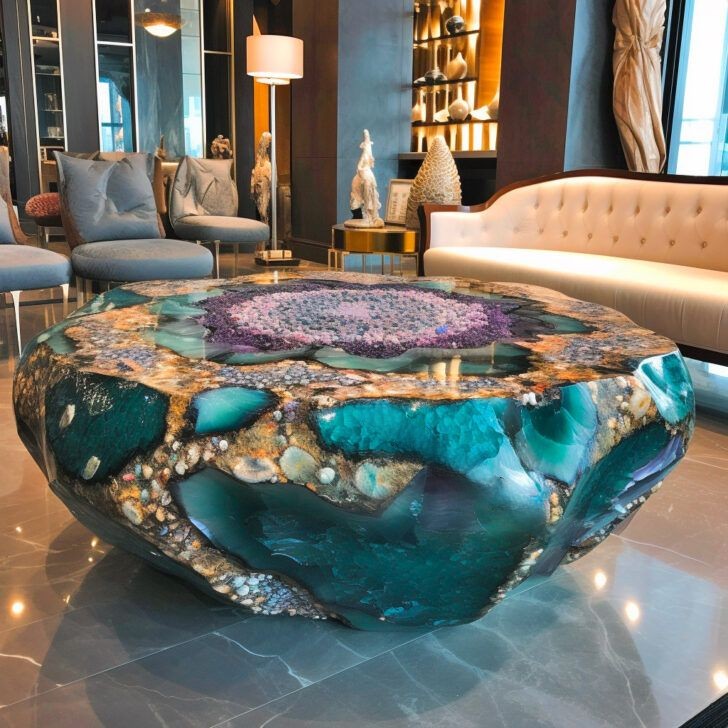
In regards to size, the range is broad, primarily due to the inherent variability in geodes. Circular tables typically span 4-6 feet in diameter, while rectangular versions tend to be longer, approximately 5-8 feet. Regardless of shape or size, one aspect remains constant: these tables are substantial pieces of furniture. A natural geode table of this scale may weigh several hundred pounds, while an epoxy replica, although somewhat lighter, remains a weighty piece due to the resin’s density.


Because of their size and weight, placing and relocating these tables necessitate careful planning. Ensuring that the floor can support the weight is crucial, especially for genuine geode tables. Given their size, they are better suited for larger living rooms or spacious lounges.
The construction of geode coffee tables is a labor-intensive process that demands meticulous attention to detail, often requiring hundreds of hours of painstaking work. From sourcing and selecting the perfect geode or crafting an epoxy replica to finalizing the table structure, it’s an intricate endeavor that demands skill and patience.

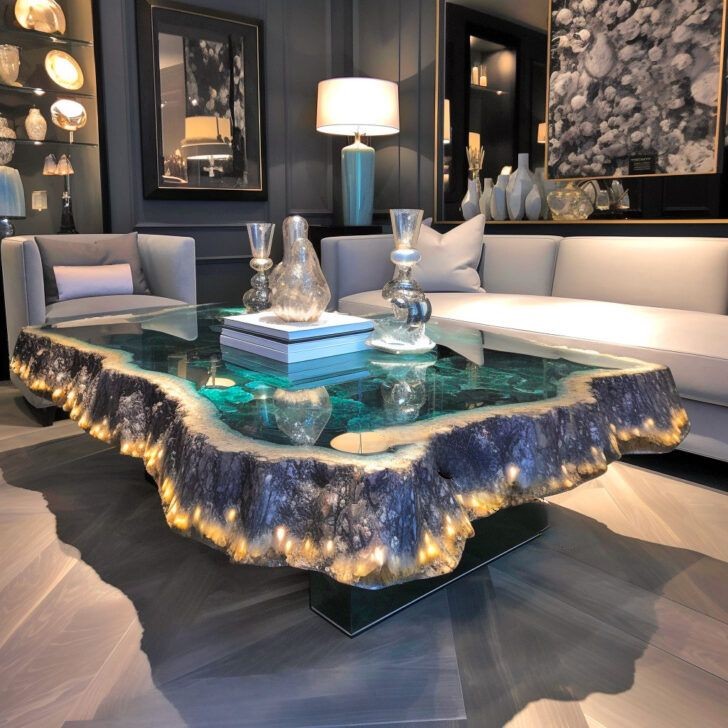
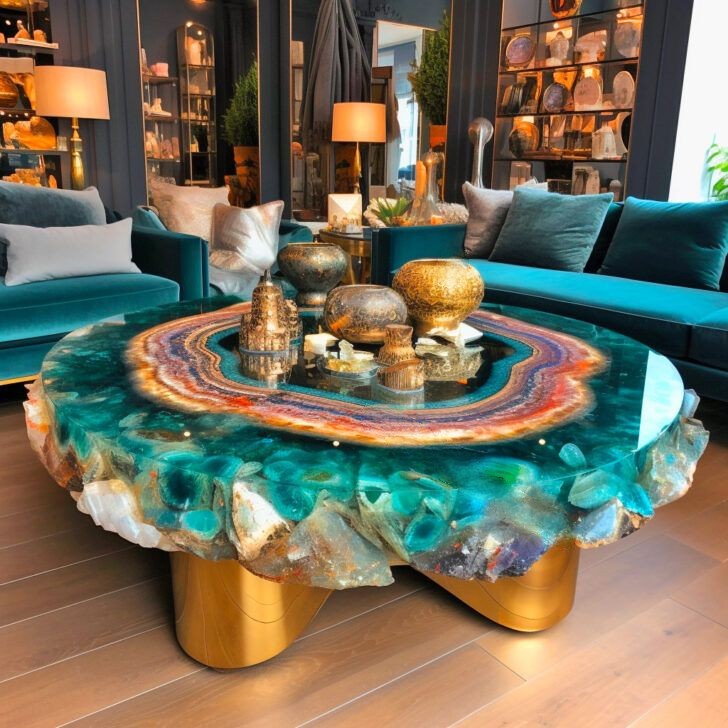
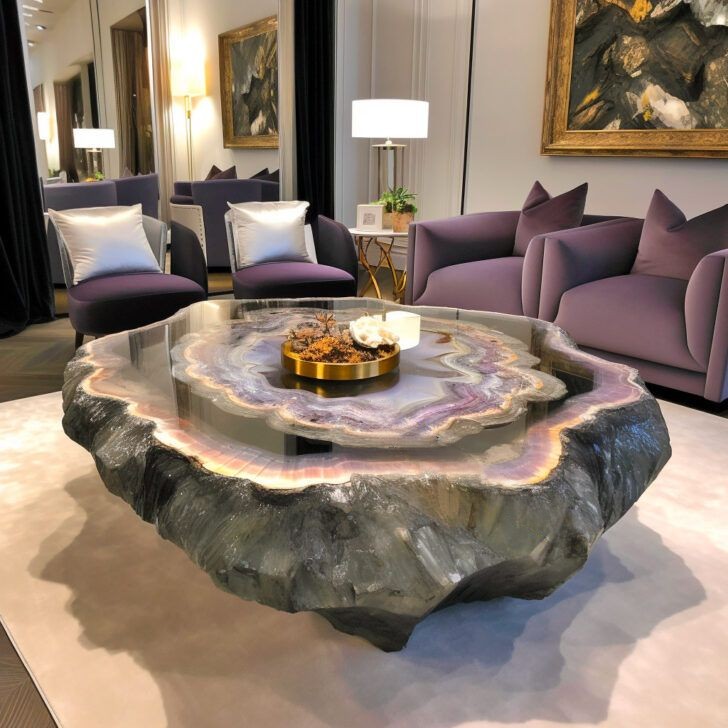
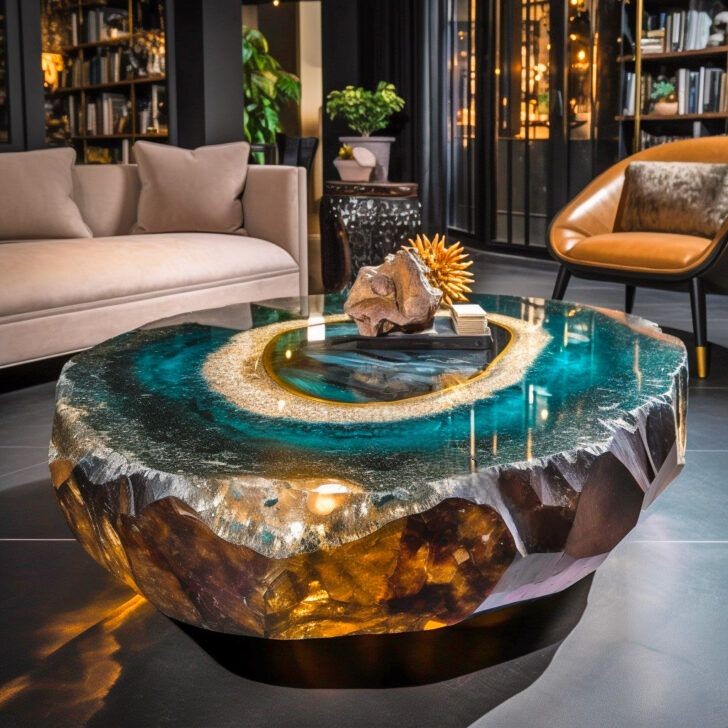
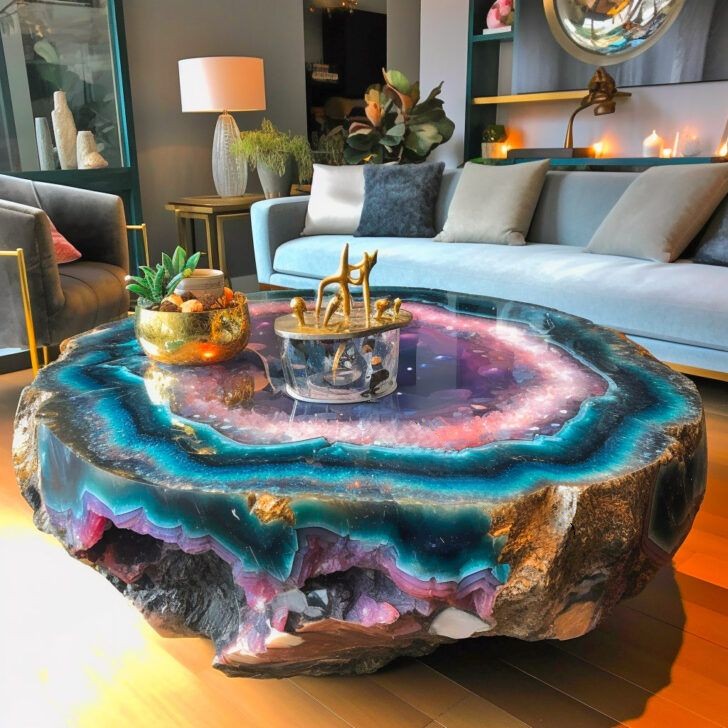
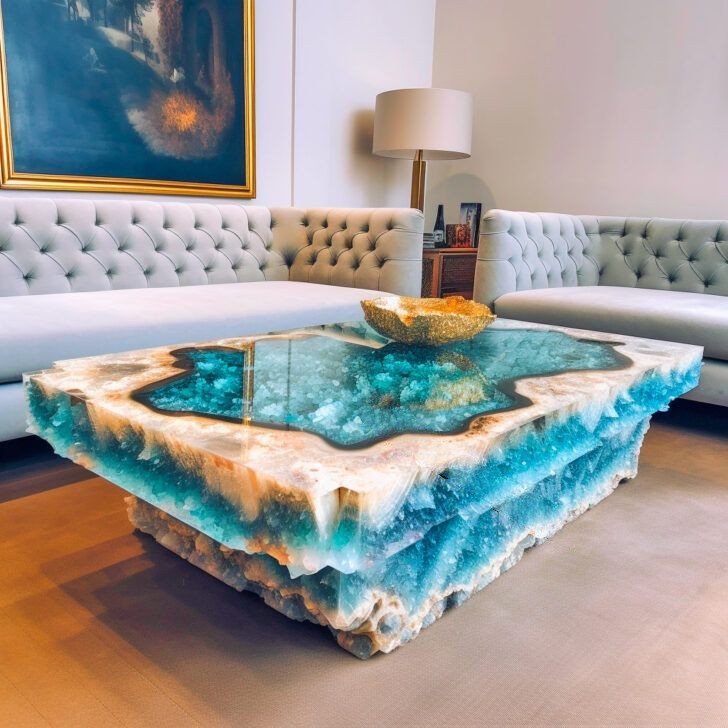
The primary allure of these tables lies in their captivating aesthetics. The intricate details and glistening crystals of the geode captivate the eye, prompting admiration and sparking conversations. Each table holds a story from deep within the Earth, making it an irresistible conversation piece.
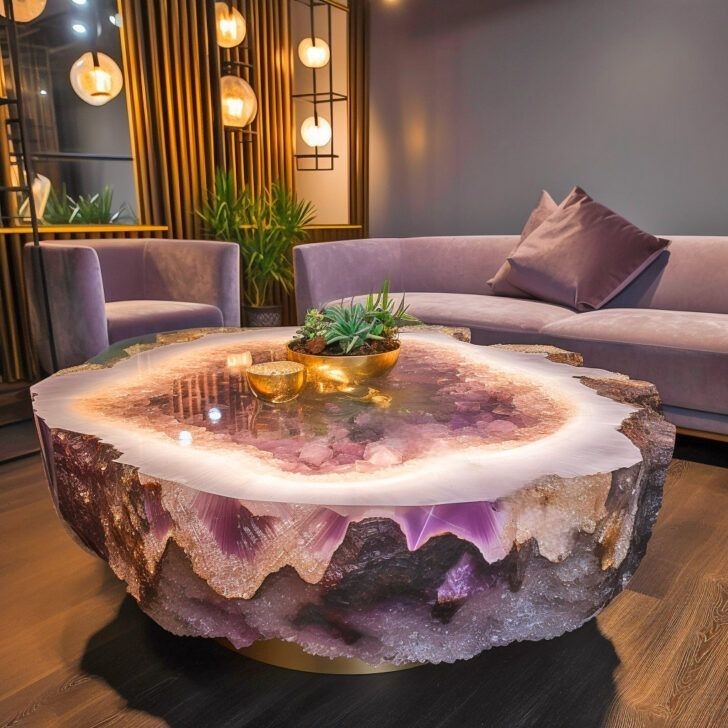
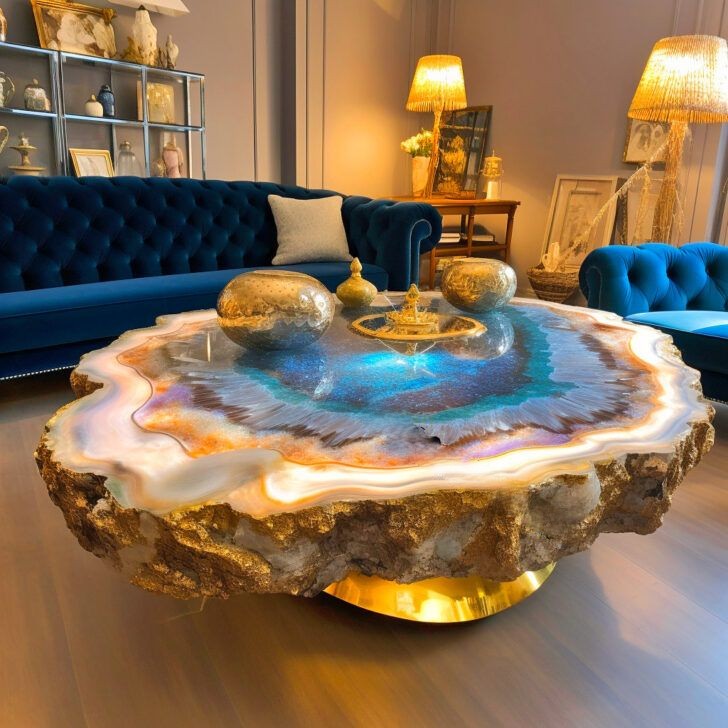
In selecting the ideal home design for a geode coffee table, it’s essential to recognize their versatility. The organic charm of geodes makes them a superb fit for rustic or bohemian designs, while the sleek lines and smooth resin surfaces make them equally suitable for contemporary or modern spaces.
Acquiring a geode coffee table isn’t as straightforward as visiting a typical furniture store. Ideally, you should seek out professional artists or companies that specialize in crafting these unique pieces. This ensures not only the quality of craftsmanship but also responsible material sourcing.
As for costs, a genuine giant geode coffee table, given its rarity and complexity, can range from $150,000 to well over $700,000, depending on its size and the type of geode. Conversely, the DIY epoxy version, while still demanding a significant investment in materials and time, could potentially be created for approximately $500-$2,000.
Maintenance is crucial for geode coffee tables. While the geode itself is relatively durable, it must be shielded from sharp objects or harsh cleaning agents to prevent damage. The same care applies to epoxy versions, as their surfaces can become scratched or lose their luster without proper upkeep.
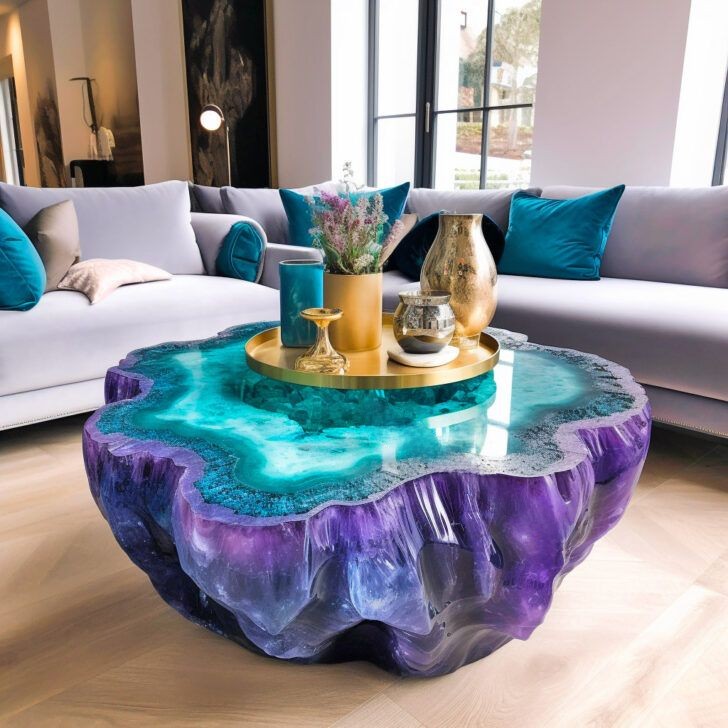
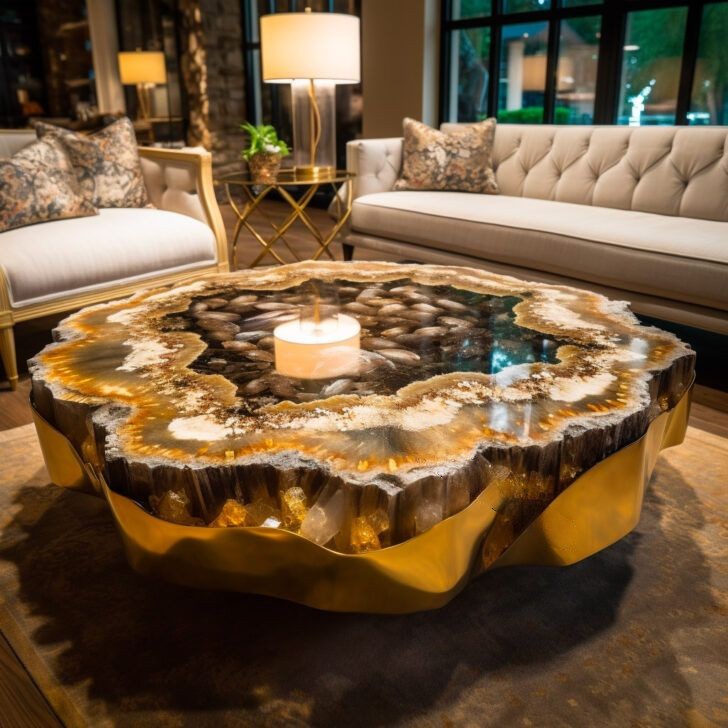
In conclusion, a geode coffee table has the potential to redefine any space, drawing all eyes towards its captivating center. Beyond its visual charm, these tables narrate a story—one that originates deep within the Earth and passes through the skilled hands of artisans, ultimately finding its place in our homes.
Their appeal isn’t limited to their striking appearance but extends to the journey they represent. Geode coffee tables are where nature’s marvels converge with human creativity, resulting in furniture pieces as exceptional as they are beautiful
Creating a giant geode coffee table using epoxy resin involves several supplies and materials. Here’s a list of the essential items you’ll need:
1. Epoxy Resin:
- High-quality epoxy resin is the core material for this project. It typically comes in two parts: resin and hardener, which need to be mixed in the correct ratio for optimal results. The quantity required depends on the size of your table.
2. Geode Design:
- You’ll need a geode design or pattern for your table. This can be a natural geode for a genuine look or a custom design for a creative touch. You can create a design on paper or digitally before starting.
3. Wood Slab:
- A wooden slab serves as the base for your table. Choose a slab that matches the dimensions you desire for your table. It should be sanded and prepared for epoxy application.
4. Molds:
- You’ll need molds to contain the epoxy while it cures. These molds should match the shape and size of your geode design. Silicone molds work well for epoxy projects.
5. Mixing Containers:
- Use plastic or silicone mixing containers to combine the epoxy resin and hardener. Make sure they are clean and free of any contaminants.
6. Stir Sticks:
- Wooden or plastic stir sticks are necessary for thoroughly mixing the epoxy components. Stirring ensures that the resin and hardener blend properly.
7. Pigments and Dyes:
- To achieve the desired color for your geode, you may need pigments, dyes, or mica powders. These additives can create stunning visual effects within the epoxy.
8. Heat Gun or Torch:
- A heat gun or torch is useful for removing air bubbles that can form in the epoxy during mixing and pouring. It helps create a smooth surface.
9. Personal Protective Equipment (PPE):
- Safety is crucial when working with epoxy. Wear gloves, safety goggles, and a mask to protect yourself from fumes and potential skin contact.
10. Leveling Tools:
- Ensure your work surface and molds are level to prevent uneven epoxy distribution. You may need leveling tools like shims or bubble levels.
11. Release Agent:
- Applying a release agent to your molds helps prevent the epoxy from sticking to them, making it easier to remove the cured piece.
12. Sandpaper and Finishing Tools:
- Sandpaper and finishing tools are essential for sanding and polishing the cured epoxy to achieve a smooth and glossy surface.
13. Sealer:
- After sanding, apply a sealer to protect and enhance the appearance of your epoxy table.
14. Work Area:
- Choose a well-ventilated workspace with enough room to accommodate your project. Protect the area with plastic sheets or drop cloths.
15. Timer or Stopwatch:
- Accurate timing is crucial during epoxy mixing and pouring. Use a timer or stopwatch to track curing times.
16. Weights or Clamps:
- Depending on your design, you may need weights or clamps to hold elements in place while the epoxy cures.
17. Woodworking Tools (if necessary):
- Depending on your design, you might require woodworking tools like saws, routers, or chisels to shape the wood slab.
Instructions:
Step 1: Prepare Your Work Area
- Set up a well-ventilated and spacious workspace. Cover the area with plastic sheets or drop cloths to protect it from epoxy spills.
Step 2: Prepare Your Wood Slab
- Ensure your wood slab is clean, dry, and properly sanded. If necessary, shape the wood to your desired table size and design using woodworking tools.
Step 3: Create the Geode Design
- Prepare your geode design or pattern. This can be a natural geode for an authentic look or a custom design for a creative touch.
Step 4: Build Your Mold
- Construct or select molds that match the shape and size of your geode design. Silicone molds are commonly used for epoxy projects.
Step 5: Apply a Release Agent
- Apply a release agent to your molds to prevent the epoxy from sticking to them. Follow the product instructions for the release agent.
Step 6: Mix the Epoxy
- Put on your PPE, including gloves, safety goggles, and a mask. Mix the epoxy resin and hardener in the correct ratio according to the product instructions. Stir thoroughly to ensure a proper blend.
Step 7: Add Pigments or Dyes
- If desired, add pigments or dyes to the epoxy to achieve the colors you want for your geode design. Mix until the colors are well distributed.
Step 8: Pour the Epoxy
- Pour a layer of epoxy into the molds to create the base layer for your geode design. Allow it to partially cure, usually until it reaches a tacky stage.
Step 9: Create the Geode Design
- Place your geode design elements, such as crystals or gemstones, onto the partially cured epoxy. Arrange them according to your design.
Step 10: Pour Additional Layers
- Pour additional layers of epoxy over your geode design elements, gradually building up the shape and depth of the geode. Use a heat gun or torch to remove air bubbles.
Step 11: Add the Wood Slab
- Once the epoxy has reached the desired geode shape and has partially cured, carefully place your prepared wood slab on top. Ensure it’s centered and level.
Step 12: Finish the Table
- Allow the epoxy to fully cure according to the product instructions. This may take several days. Once cured, remove the table from the molds.
Step 13: Sand and Seal
- Sand the epoxy surface to achieve a smooth and glossy finish. Apply a sealer to protect and enhance the appearance of the table.
Step 14: Place Your Table
- Set up your giant geode coffee table in your desired living space and enjoy its captivating beauty.